Using a UDL file to generate and test database connection strings
One of the most common gotchas to getting any data driven application working is the database connection string. How many times in your development life have you heard “I can’t connect to the database” and the problem ends up a minor detail in the connection string?
When I was working on a project with IdeaBlade one of the developers showed me a neat trick: keep a UDL file on your desktop.
While there are whole websites devoted to connection string details, a simple UDL file on a Windows system gives you a really easy way to configure and test a connection string directly against the database you want to use.
In Windows the extension “.udl” is registered as a “Microsoft Data Link” and the default program is OLE DB Core Services. Not very intuitive so let me walk through the basics.
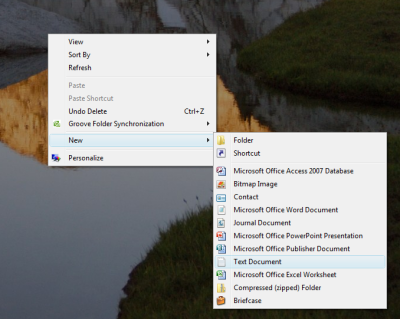
A UDL file is actually a text file so start by creating a text file on your desktop. Right-click on the desktop and select New and Text Document. Note: I did this on Windows Vista but this works the same way on any modern version of Windows (I’ve checked as far back as NT 4.0).
Name your new file Connection.udl – or, whatever but you need the “.udl” extension. Ignore the “If you change a filename extension…” warning . The file will take on an icon appearance that is not a text file. Here’s how it looks on Vista
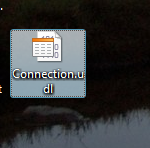
And XP

Now double click on (or right-click Open) the file. You should see a familiar database connection configuration dialog.
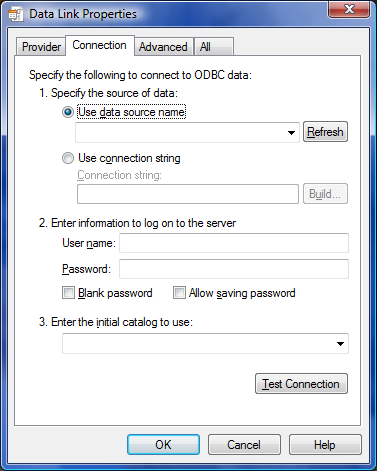
To connect to your local SQLExpress database go to the Provider tab and select Microsoft OLE DB Provider for SQL Server.
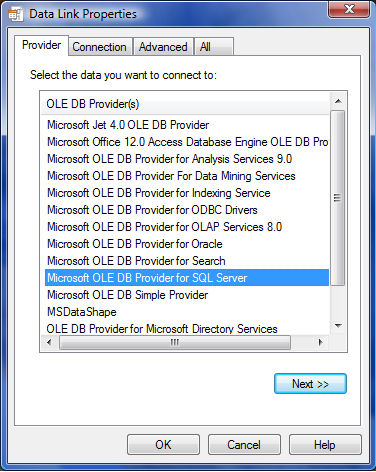
Now go to the Connection tab and select the database to connect to. You may just browse through the list but SQLExpress instances do not always show up. You may also type the server name into the listbox. For SQLExpress it will usually be [machine name]\SQLEXPRESS if you have a full SQL 2005 instance installed it will just be the machine name. In this case I’m connecting to my local SQLExpress database on my machine HAVOCVISTA.
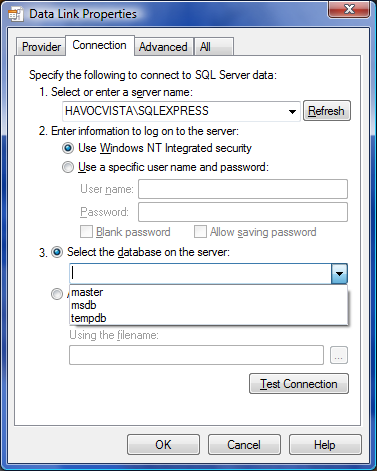
Select the authentication you want to use. If using a username and password choose whether you would like to embed the password in the connection string.
Now select the particular database. If the dropdown is populated when you click on it you already have a good connection. If not, then the problem is going to be the name and/or the authentication provided. Assuming all’s well, select the database and click the Test Connection button.
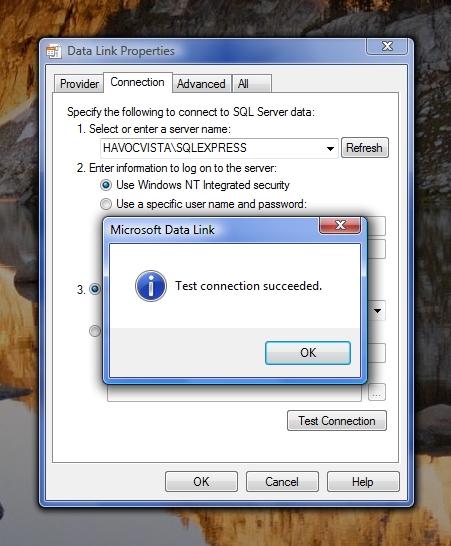
Now close by clicking the OK button.
Here’s the “Ah Ha” step.
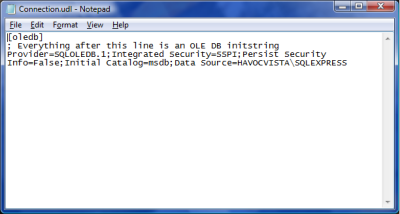
Now open the file in notepad – remember, the .udl file is simply a text file. You should see something like this:
In the file is the connection string you just tested. Copy and paste where needed in your application and you should be good to go.
