Video review


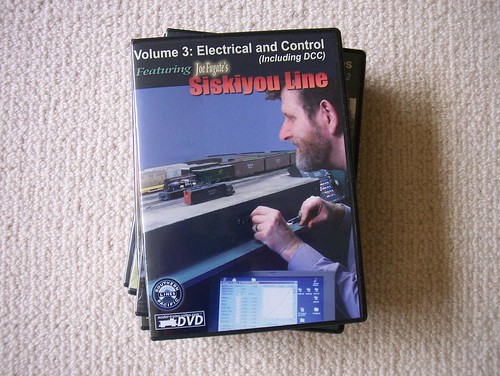
Volume 3

Volume 3: Electrical and Control (Including DCC) is a case study of how Joe’s layout is wired and an in-depth look at DCC wiring, installation, and configuration.

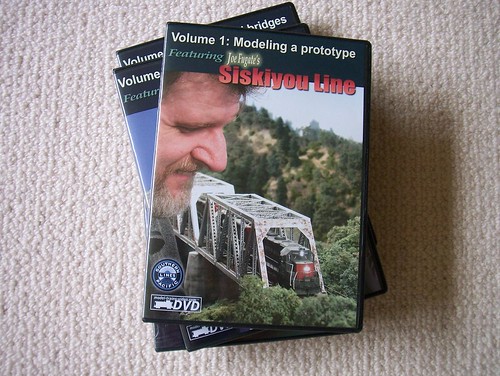
Joe Fugate was kind enough to send me a review set of his Siskiyou Line videos. The five volume set covers almost all aspects of the design, construction, and operation of his HO scale Siskiyou Line layout based on the Southern Pacific’s Siskiyou Line in the 1980’s.

Please see my comments on Volume 1 and Volume 2.

This is a really excellent guide for someone like me. I’m very familiar with traditional (DC) layout wiring but this new-fangled DCC is hard to initially get your arms around. Joe works up from basic DCC wiring, on to DCC decoder installation and basic programming, and advanced techniques like “consisting” (double-heading for steam guys like me) and using your PC hooked up to your DCC controller to configure detailed parameters of your DCC system.

This DVD is completely free-standing in that if you just want DCC information this one DVD would be an excellent choice independent of the rest of Joe’s series.

I hope Joe produces updated versions of this disc as time goes on since some of this material will eventually become dated.

I think viewers will get the most value from this video if they have seen Volumes 1 and 2 first but this video is also very valuable all by itself if you just want the DCC information.

Joe’s DVDs may be purchased at model-trains-video and retail for $24.95 each.

Volume 2

Joe Fugate was kind enough to send me a review set of his Siskiyou Line videos. The five volume set covers almost all aspects of the design, construction, and operation of his HO scale Siskiyou Line layout based on the Southern Pacific’s Siskiyou Line in the 1980’s.

Please see my comments on Volume 1 here.

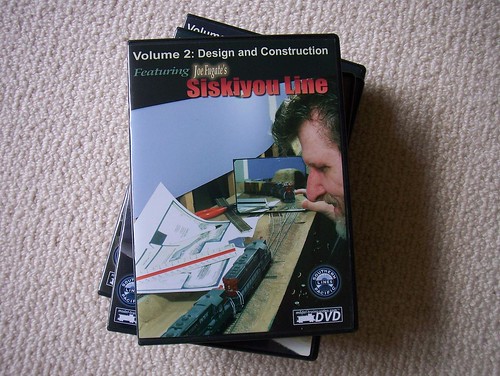
Volume 2: Design and Construction is mainly a case study of how Joe’s layout design evolved and an outlune of construction techniques used. 

Starting with design and concept Joes walks us through each stage of the process beginning with the importance of finding a layout concept that really excites you. That excitement and engagement is really important since it is what will carry you through the work it takes to stick with the project.
Scenery

Joe goes through the role of a CAD system in designing a layout but his emphasis is on the design process, not on the mechanics of running a CAD program. I think this is a good point. WHAT you are drawing is much more important than how you go about making the lines on the paper.

Early in determining how he was going to use his available space Joe decided that some form of multi deck style layout was what he wanted since it would significantly increase the possible length of the mainline. Joe goes into excellent detail showing how a mushroom style multi deck configuration works and his approach to construction. I think this will be really helpful to people curious about whether this is an approach they want to tackle themselves.
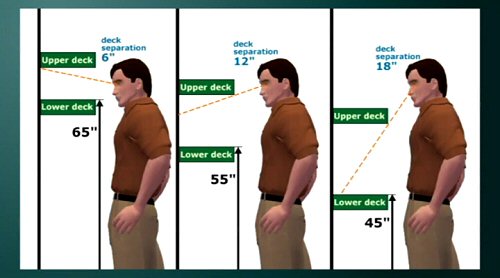
Multi deck design

Joe demonstrates the process of creating a list of “Givens and Druthers” (In software projects I call these “Musts” and “Wants”) to help prioritize Layout Design Elements (explained below) that are contemplated for the layout. Additionally Joe shows how requirements for adequate aisle room, minimum curve radius, and room size and shape all interact in shaping the plan.

A Layout Design Element is a scene or other aspect that you really want reflected in your layout design. For example, Joe showed that one layout design element he wanted was the Roseburg yard; another was the bridge crossing the North Umpqua River. Looked at this way, track planning really becomes arranging desired layout design elements, adjusting their size and shape to fit the available space, and connecting with tracks.

This demonstrates for the viewer a very approachable technique to designing their own layout.

As Joe finishes his design discussion he emphasizes that a plan is only that. During construction, plans can change.

Joe’s discussion of benchwork construction very reasonably focuses only on those aspects that are unique because they are a direct result of his particular planning decisions. These particularly include details of how the mushroom aspects of the benchwork were constructed.

Joe gives a really interesting story about the trials-and-errors encountered in the design and implementation of the helix required to move trains between his lower and upper levels. This was really helpful to me in particular since it explains the trouble I’m having with my darn hill : From Joe’s disussion I see how I neglected to appreciate the required grade compensation caused by my tight 18” radius mainline curves adding effective grade to an already steep 4%+ grade. Argh for me – but also Ah ha! Now I have a better handle on how to fix the issue.

Joe details the very straightforward lighting system he uses on the layout and then moves into some straight How-To sections showing how he builds Masonite spline roadbed. Another how-to is on flextrack laying techniques.

Finally, included on the disk as Special Features are quick notes on how to add power routing and handling complex installation with his Easy Throw switch controls as well as a Power Point style presentation of metrics you can use to numerically measure and compare different tack plans.

Overall, I think the most interesting and useful thing found in this video is the problem solving process Joe demonstrates since this is where I really felt I was learning and gaining experiences that would help improve my own design and construction work. Although Joe flags this video as Intermediate/Advanced I think beginners will see how to avoid common mistakes and also learn from Joe’s experiences that mistakes can and will be encountered but can also be overcome.

I think viewers will get the most value from this video if they have seen Volume 1 first.

Joe’s DVDs may be purchased at model-trains-video  and retail for $24.95 each.
Volume 1

Joe Fugate was kind enough to send me a review set of his Siskiyou Line videos. The five volume set covers almost all aspects of the design, construction, and operation of his HO scale Siskiyou Line layout based on the Southern Pacific’s Siskiyou Line in the 1980’s. I tripped across Joe’s website several years ago and was struck by the excellent scenery (especially the trees and ground cover) so I was really pleased to have a chance to see the videos he has made.

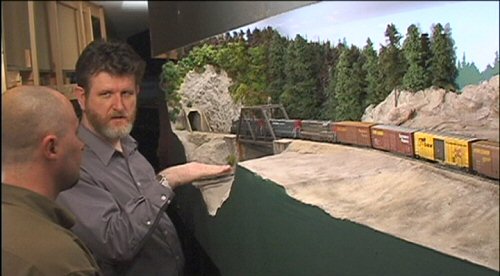
Volume 1: Modeling a prototype is a really nice overview and I found it reminded me favorably of Allen Keller’s Great Model Railroads series in overall format. The DVD starts with a rail-fan style trip following trains around the 800 square foot layout. We then meet Joe as he describes the creative process he followed to end up with his layout’s concept. One twist is that he maintains a strict 20 year date offset so if it’s July 4, 2008, then it is July 4, 1988 on his layout. Next we see how the layout’s mushroom configuration and clever construction plan allows a functionally 1200 square foot layout to fit into his 800 sq. foot space.

Vol1 still 1

After that Joe takes us section by section through the layout describing how each relates to the prototype and features of operational interest he’s implemented. Next we follow the Coos Bay Hauler along its route as Joe demonstrates the dispatching and schedule system he uses. I’m a small line steam guy and plan on strenuously avoiding most operational paperwork but Joe shows that attention to this detail can help you feel immersed in running the train over the branch.

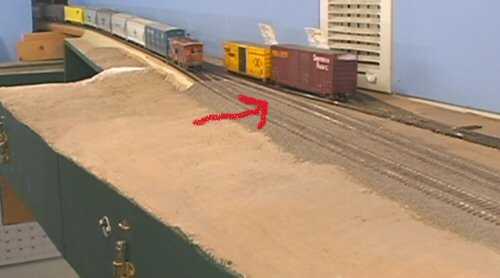
I have say it: I found a continuity error. Joe carefully demonstrates how he realistically includes adding and dropping water cars (cars which drop water to help prevent fires) from the train but immediately after dropping the two black water tank cars the train pulls out and the siding where the tank cars were spotted (indicated by the red arrow below) – is mysteriously empty.

Vol1 still 2

The video closes with a straight how-to showing how Joe uses ordinary brass door bolts to manually actuate his turnouts.

Production quality is good. I viewed this video on a 46″ HD TV and it looked good and sounded great.  Joe is an excellent narrator and my son and I both really enjoyed watching the video. Joe did an excellent job introducing and orienting us to the layout and I’m looking forward to seeing how he builds his excellent scenery and track work.

Minor nit picks: Joe’s lighting is a bit too shadow-free and could have used key lighting. Admittedly, this is tough to do on many layouts. The editing pace is a tad slow.

I think Volume 1 is free-standing in the sense that it is a good value all by itself without the rest of the series. However, I’ve already gone on to Volume 2 (full review later) and can report it presents a wealth of new material and is a great follow-on to Volume 1.

Joe’s DVDs may be purchased at model-trains-video and retail for $24.95 each.

Paul Scoles DVD

I first became aware of Paul Scoles’ work when I saw the “Scenery—Gazette Style” series in Narrow Gauge and Short Line Gazette in the late 1970’s. His techniques always struck me as elegant and relatively easy to follow. His trendsetting photography also made the work look good.

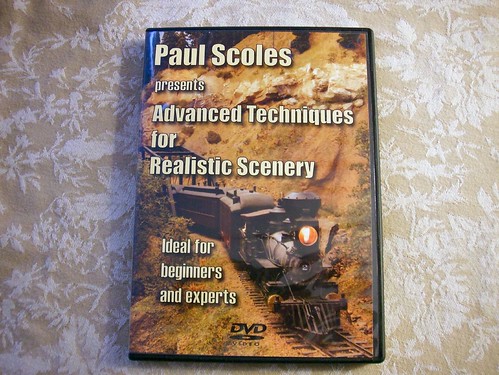
Paul has come out with a DVD based on scenery he’s building for his Sn3 Pelican Bay Railway and Navigation Company layout. I bought my copy from Paul directly through his website at http://www.paulscoles.com/ .

The DVD is excellent and runs over two hours covering

  • Rock casting, coloring, and installation
  • Ground cover using natural materials like decomposed granite
  • Construction of fir trees
  • Construction of deciduous trees using several products from Scenic Express
  • Building a good looking forest from these trees
  • Building scenery around structures (although structures on flat-ish ground is all that’s really covered)
  • Scenery concept and design: planning how progression and change in the scenery as you move around the layout can create the impression of distance and changing climate

I highly recommend this video and I’ll be re-viewing it often as I build.

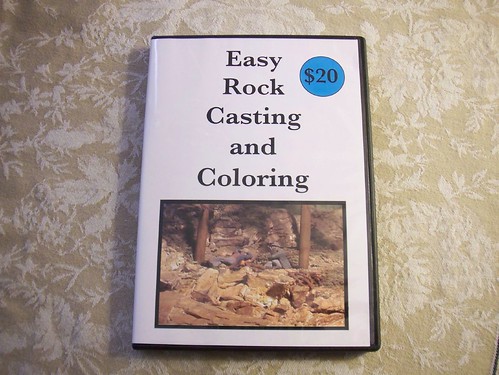
Easy Rock Casting and Coloring DVD by Darryl Huffman

Darryl Huffman's DVD

How did you do those rocks?
.

This was Darryl’s topic sentence for this how-to video. This looked perfect for me since the point I’m at on my layout is how am I going to do all those rocks!? 

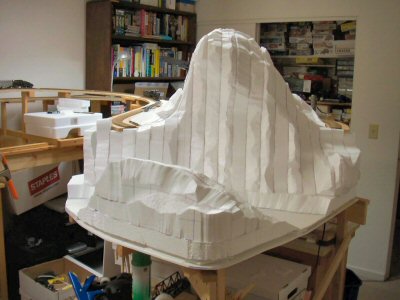
I’m building an HO standard gauge version of Crazy Horse Canyon from Malcolm Furlow’s San Juan Central on my layout. I’ve got the shape of the scenery roughed out in Styrofoam but I’m stuck on the step of actually building whole area up with rock castings.

The questions I needed help with were things like: How do you handle the seams between castings to cover large areas? How do you color everything?

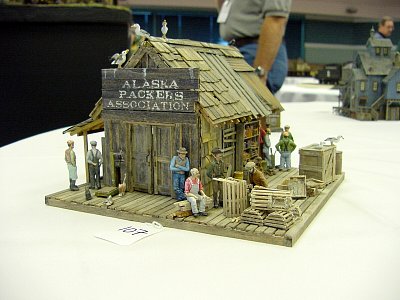
Darryl is a regular contributor to several of the model railroading Yahoo! groups and I have seen many photos of his work from there and his contest entries at the Narrow Gauge conventions.  Below is a structure he built and entered in the modeling contest at the 2004 Narrow Gauge Convention.


I ordered the DVD directly from Darryl on his website and it arrived within a few days.

The 70 minute video is divided up into five chapters about making, blending, and coloring rock castings plus one neat extra chapter about how to use colored crushed plaster to make talus slopes and bunches of rocks and gravel.

Even though I’m using casting foam instead of plaster for my rocks, almost everything Darryl demonstrates easily translates into that material.

Darryl’s DVD does a great job at making the process feel approachable and yields great results. At $20 plus $5 shipping I think it’s a great value too.

Order direct from Darryl at his website http://www.darrylhuffman.50megs.com/custom.html

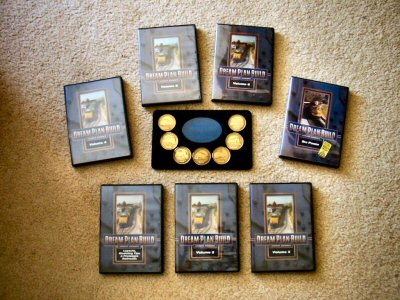
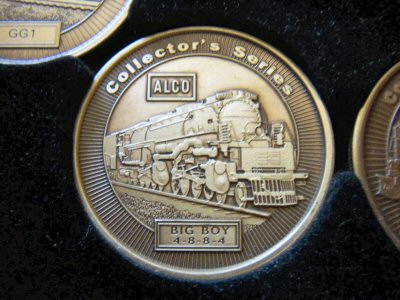
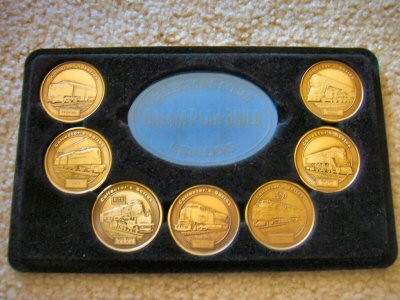
Okay, I admit it; I paid in when Model Railroader sent me an unsolicited copy of the first issue of their “Dream Plan Build” video series. Hey they included “collectible” coins too!

I saw this series as Model Railroader (MR) working really hard to remain relevant in a web age and changing modeler demographics that they do not seem to have a clue how to handle. I liked the first one enough to cough up the $24.90 and see how they go.

What I liked:

There is a fair amount of content on each disk, something like an hour and a half to an hour and forty-five minutes each sectioned into 12-16 articles.

I liked the modeling clinics. However, like the magazine, the emphasis remains on the beginner.

I liked the layout tours. I always like to see what other people have built. As long as it’s scale.

What I did not like:

Uck. The modeling clinics where the work ended up looking bad. Come on guys, do it over until it looks good! Video is really kind to most model work so it has to be really shoddy to look bad on video.

Argh. The layout tours of Lionel sets with scenery. I dare you: find one where they do not say “reliving a childhood dream…”  Scale railroading is a rejection of the “let’s see how fast the train can go” world of Lionel based layouts.

Snooze. The prototype tours. I model the 1920’s. I am not really interested diesel engines trundling around.

Recycled. The production values, style, and the sections look a WHOLE LOT like the “Tracks Ahead” series seen occasionally on PBS stations. Can you say “leftovers”?

Conclusion:

I wish Model Railroader luck but after a bit over a year and seven DVDs I’m not going to buy any more.

Yes, I did wait until I filled the little coin holder before I quit.

Yes, I’m weak.