March 2009
Monthly Archive
Sat 28 Mar 2009
Continuing our build out of Nick’s HO micro layout.
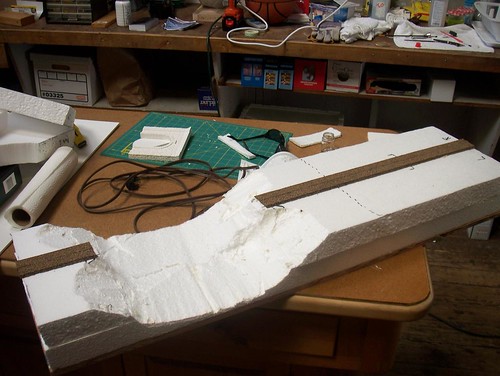
Once the base was set up and roadbed established we started to build up the hill and tunnel out of 4″ thick Styrofoam.
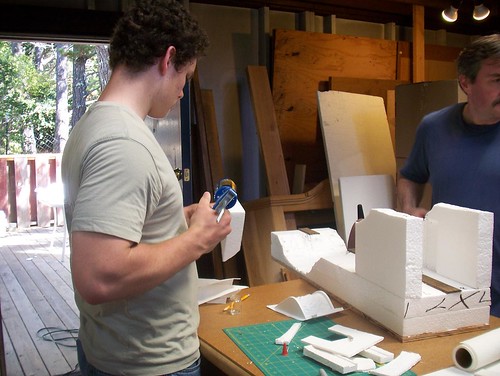
We cut a mock tunnel portal for sizing.
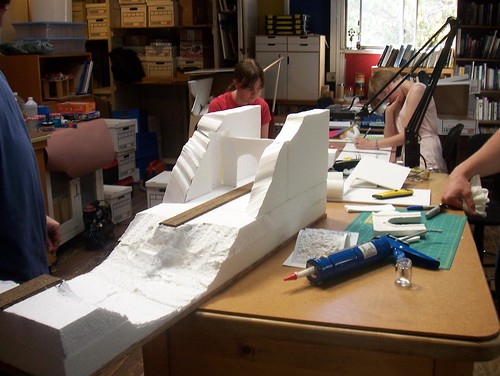
Then we gave everything that would become “ground” a good coat of dirt-colored latex paint.

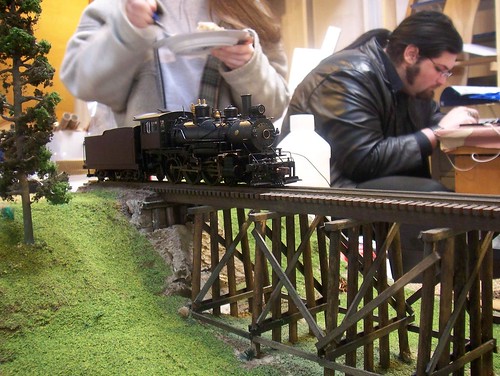
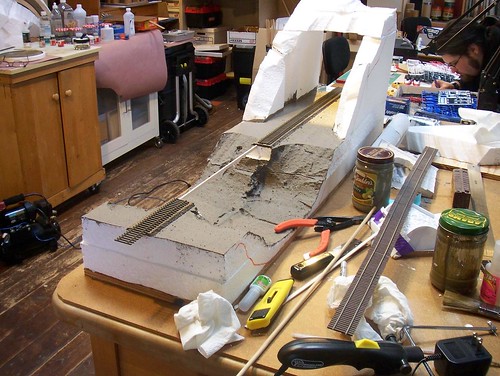
Then we started preparation for the installation of the trestle bridge by hot-knifing the end abutments and here I’m making a “story pole” that will be used as a template for the location and height of the bents. The track has been rough cut and painted but is not yet installed.
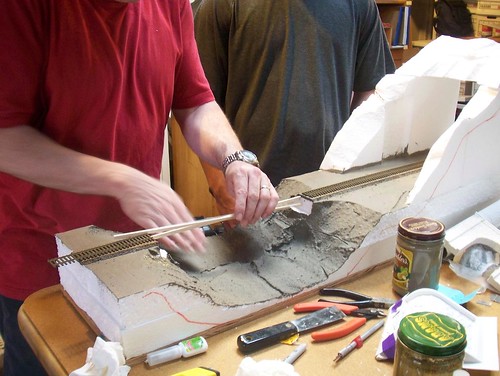
We used Micro Engineering code 83 flex track and here we’re preparing some matching Micro Engineering code 83 bridge flex track with appropriate ties and spacing.
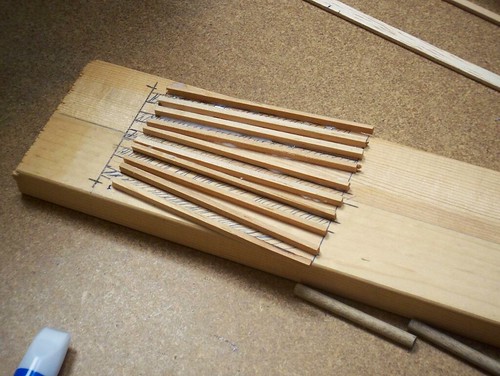
To make the bents we made a jig into which 3/16″ dowels will be held while being glued.
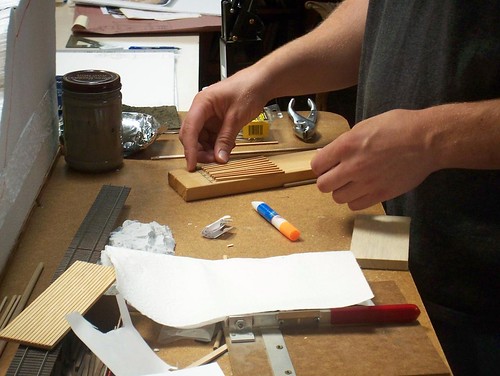
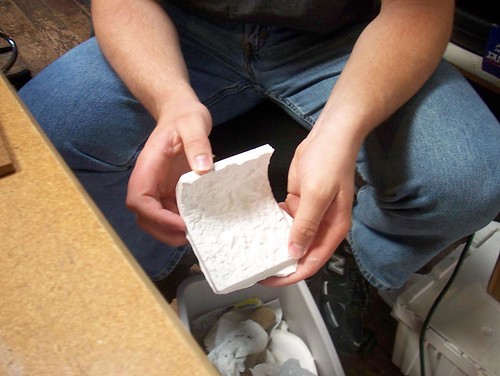
While the glue dries on bent assemblies we started to make plaster molds of the tunnel interior using a Woodland Scenics mold.
Sun 22 Mar 2009
Posted by Daniel Swearingen under
Layout Design ,
second mirco layoutComments Off
It looks like we’re going to be building an On30 (not On2-1/2!) micro layout and the typical question has come up.
When you say “micro,” how micro do you really mean?
We want to run trains round-and-round so we need a loop. The size of a small layout is dominated by its turn radius. The size of the turns will be decided by the size of the motive power. I have a bunch of Bachmann Porter 0-4-0s in On30 around so we’ll use these to rule the design.
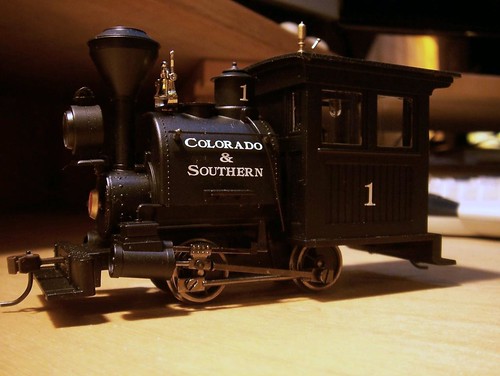
I love the Internet. A quick Google of “minimum radius porter 0-4-0” returned a link to a pdf:
On30 Commercial Loco and Car Minimum Radius Guide written by the infamous “Professor Klyzlr” [BTW, Professor Klyzlr, I would link into your site but it has no home page.]
And the data the Internet On30 community has given is that Bachmann says 18″ radius but people find that 12″ is a practical minimum and 6″ is absolute minimum. I’m going to shoot for 10″ radius — but I’m going to test that.
Sun 15 Mar 2009
Posted by Daniel Swearingen under
first micro layout ,
Layout Design ,
Model BuildingComments Off
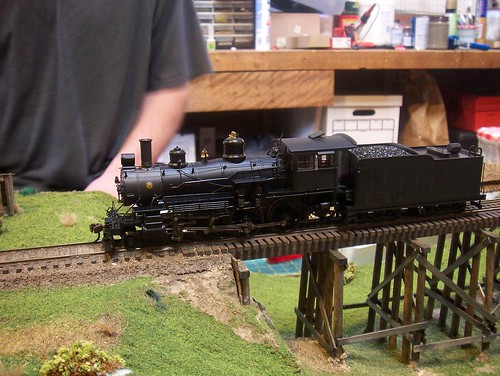
Nick joined our “build stuff” group with no idea what he wanted to build. We suggested he look though our library of books and he saw my copy of Stindt’s “Northwestern Pacific Railroad” and started explaining to me that this was the railroad that used to run through our neigborhood.
This, I knew. What I had not known is that Nick was a rail fan.
We had Nick sort through and tag all the photos in the books he liked and ended up with a concept of a micro-layout with a tunnel and a bridge. We had about 50 building hours available to us in the project series so things needed to be kept small and simple.
Nick tagged about 50 different photos and we scanned them quickly at low resolution so we could see them all together. We all saw that Nick was strongly attracted to tunnels and trestle bridges so I proposed a small diorama with a hill, creek bed, tunnel and a bridge.
To get things started we cut some plywood to define the footprint.
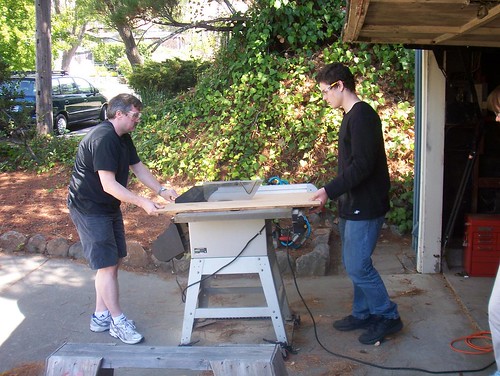
Although it is not my favorite technique, I had a lot of styrofoam around so we cut and built up layers of foam.
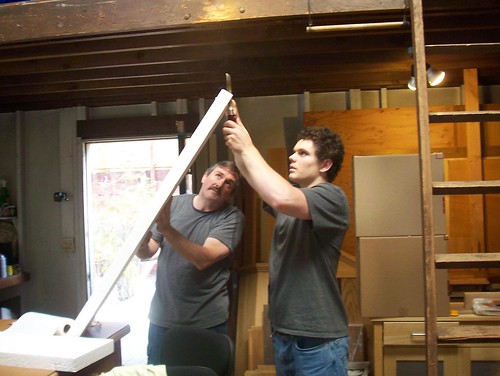
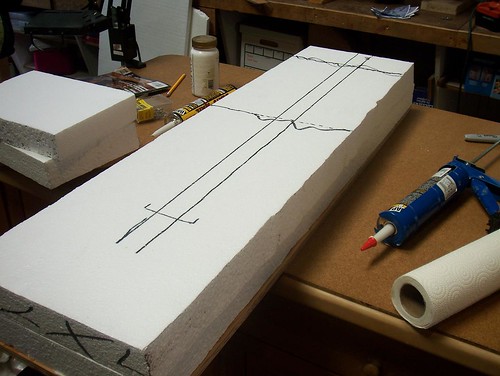
We marked where the tracks, bridge and tunnel would be. I suggested making the tracks “skewed” (not parallel) to the layout edge but Nick insisted he wanted it straight.
Pretty soon, we had something starting to look like a micro-layout.
