April 2009
Monthly Archive
Thu 23 Apr 2009
Posted by Daniel Swearingen under
first micro layout ,
Model BuildingComments Off
Finishing up!
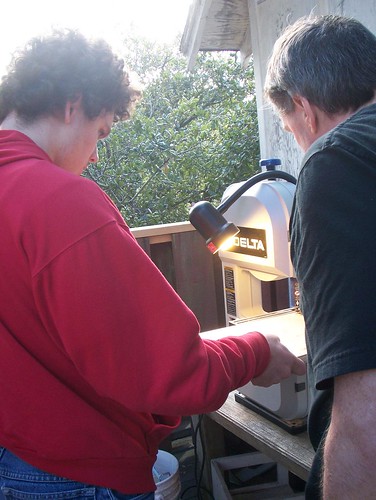
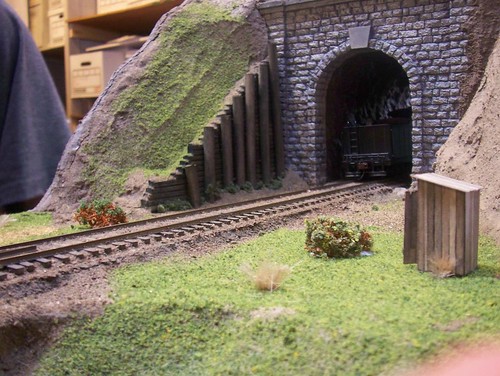
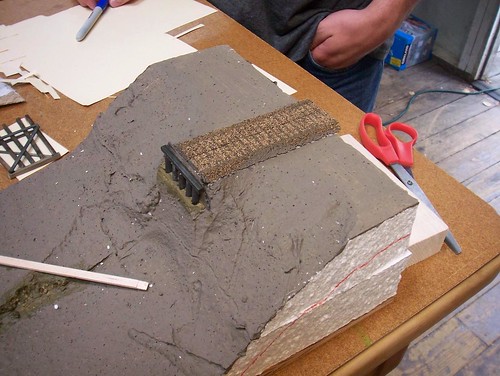
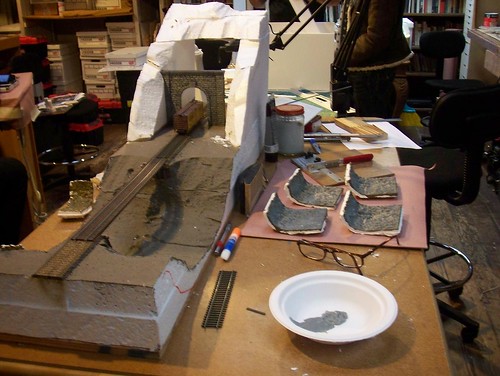
Nick uses plaster-cloth to cover the hillside above the tunnel.
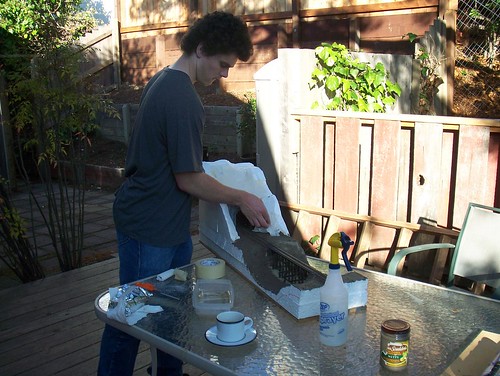
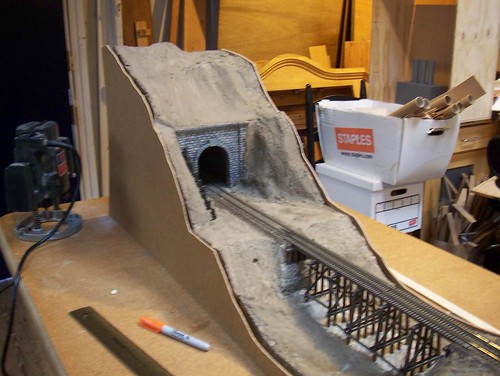
We painted and ballasted the track, added a retaining wall and added an initial layer of dirt-glue-celluclay ground cover.

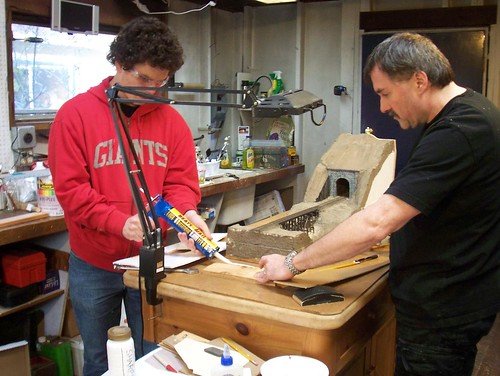
Ready for trim: we cut some pieces to cover all four sides.
Gluing the trim.
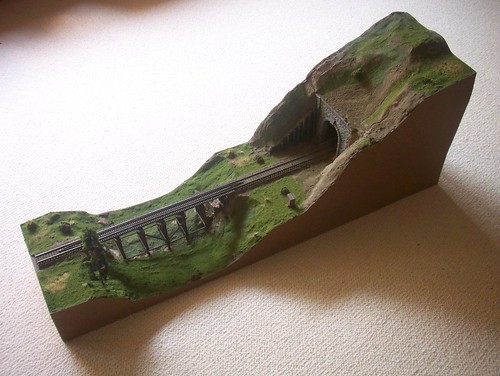
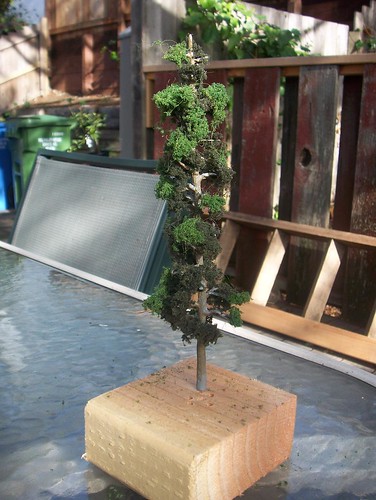
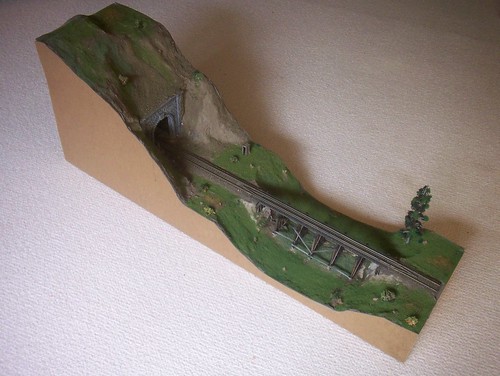
Now for some grass and trees.
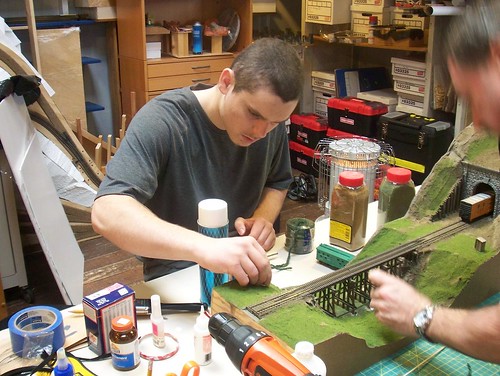
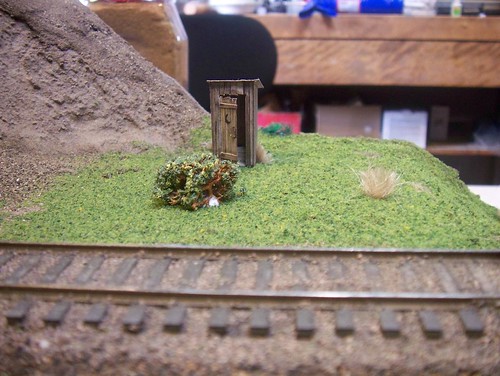
Pretty much finished.
Our one structure is an outhouse.
Wed 22 Apr 2009
Posted by Daniel Swearingen under
first micro layout ,
Model BuildingComments Off
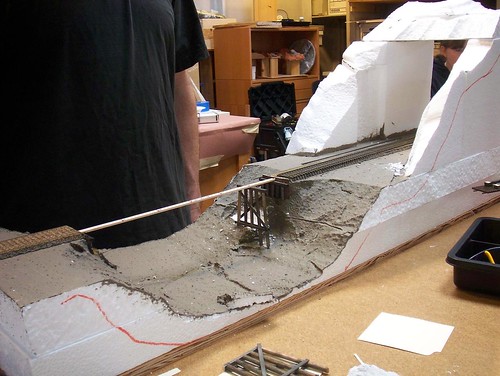
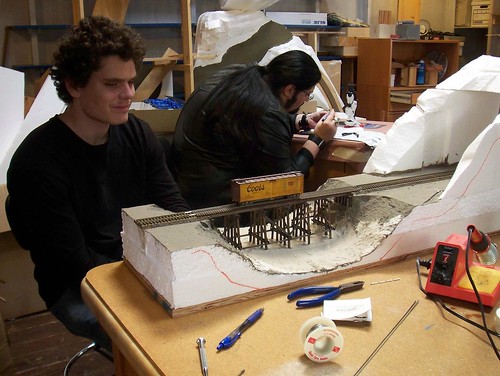
Continuing with construction of the bridge.
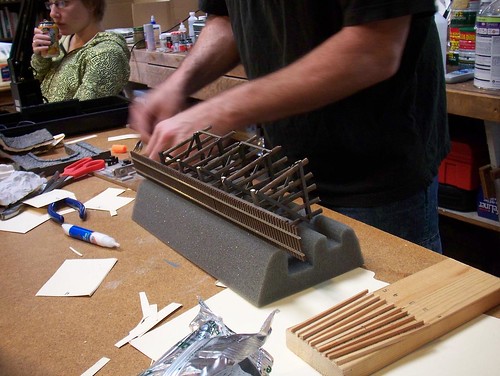
Using a “storey pole” marked with the locations of the bents, we shaped each bent pretty closely to the contour of the ground where they would be planted.
Then we glued the bents to the span — laid out upside down on the bench.
Once the glue dried a bit we set the bridge up and started gluing on teh cross braces. This really strengthens the bridge.
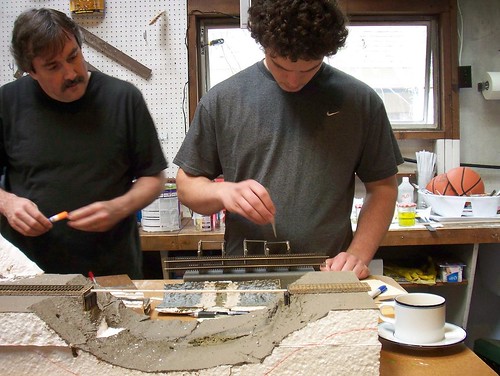
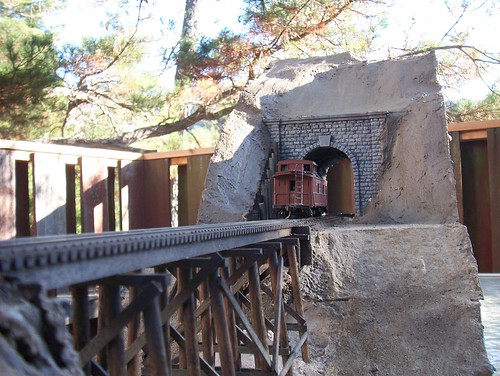
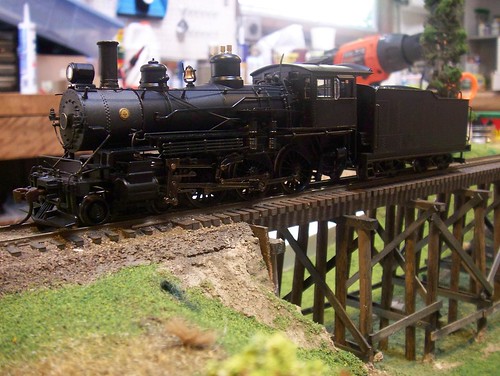
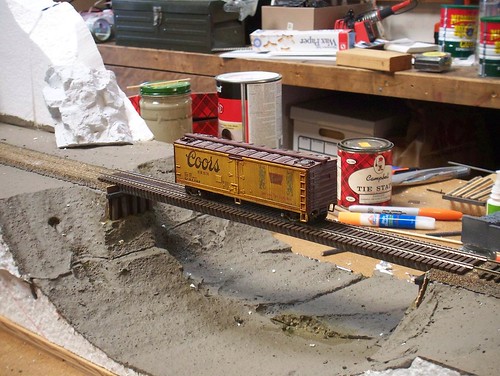
Finally we test fit the bridge in place.
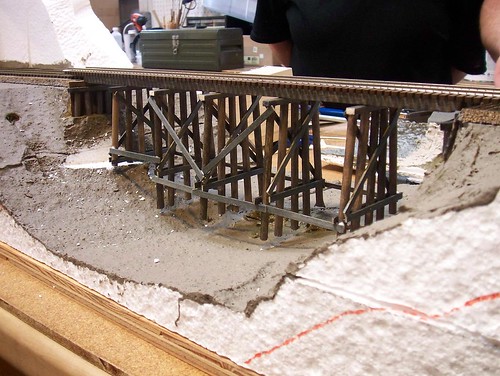
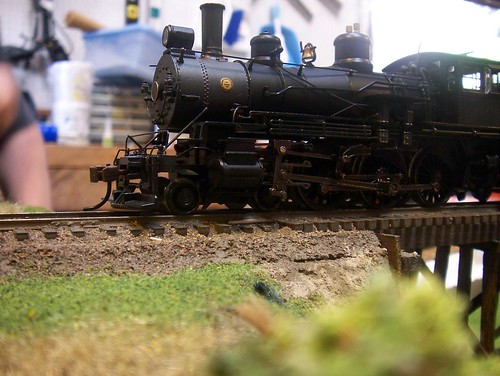
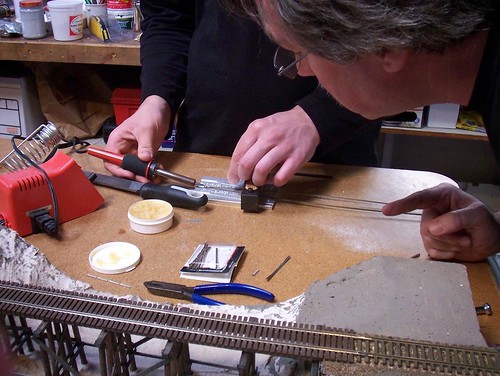
Once the bridge was planted we soldered up the approach tracks and it’s time to test that track again!
Next we made some guard rails by shaping rails as if they were going to be frog rails and soldering them together.
All for now!
Wed 1 Apr 2009
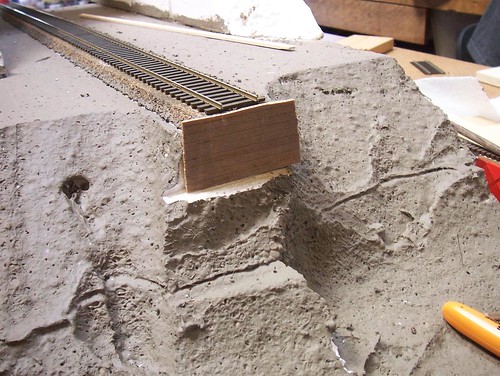
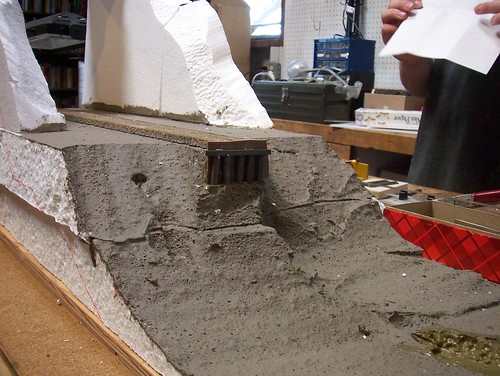
We started building out the bridge abutments by cutting away the Styrofoam and making a retaining wall out of scribed siding a stolen from an old Campbell tunnel portal kit.
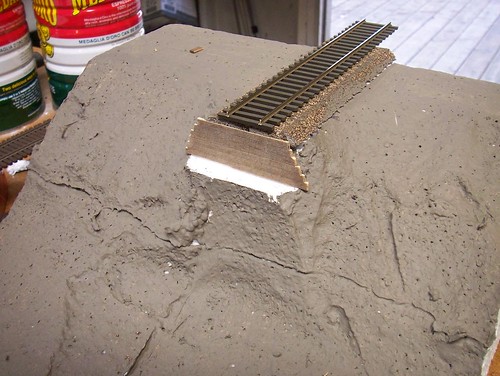
Note that we pre-stained the wood with a simple ink-alcohol mix. Here’s the other side of the bridge.
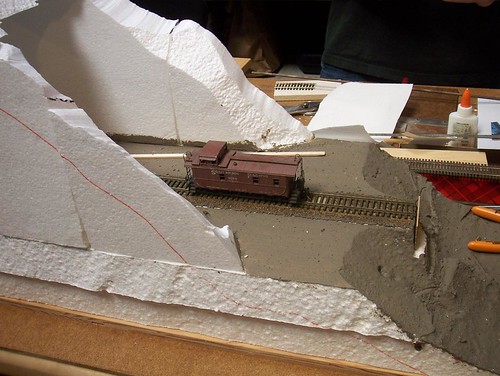
The temptation to play with a train is just too much to resist!
We made little bents to go against the retaining boards glued earlier — the white glue is wet and still visible here.
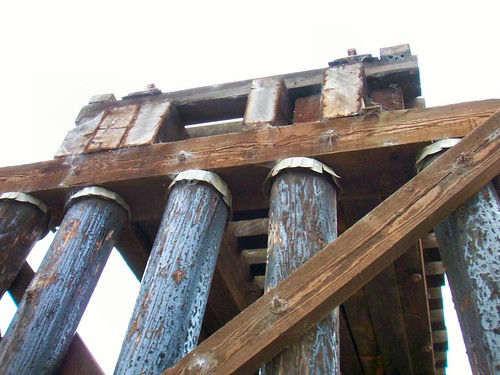
We’re following the basic construction techniques of the Northwestern Pacific Railroad as seen in their Corte Madera Creek bridges since we can walk up and inspect them today.
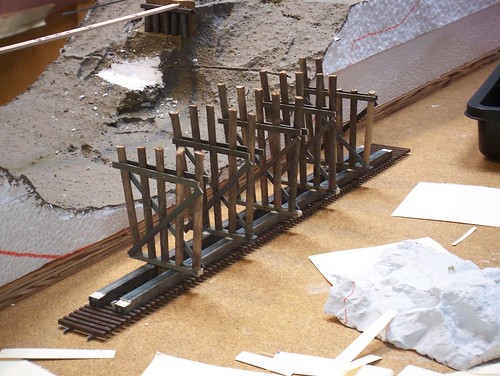
Using six scale beams glued in two groups of three I made the main span and glued some Micro Engineering code 83 bridge track onto it.
In parallel while glue is drying we’re making more tunnel lining castings and painting the tunnel portal.
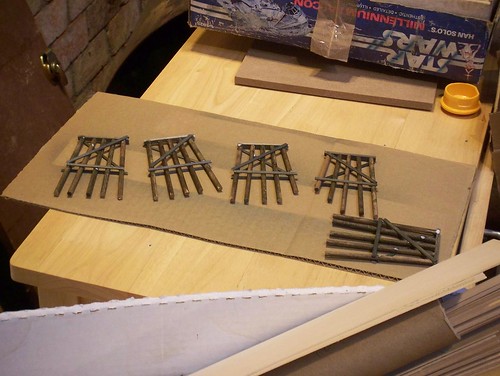
Using our jig we made the five trestle bents with profiles roughly matching the ground under them.