Mike recently commented on Nick’s next railroad and I wanted to respond in detail.
Dan, a couple questions for you. I recently got back into model rr after only doing it as a kid…and those were the days when we’d run them like racecars to see if we could get train cars to tip off the track around corners!
[...]
So, I started from scratch and made a L-shape layout in a corner so far. It’s about 6 feet long on one wall and 8 feet on the adjacent wall.
Here’s my question.
I see that you use cork roadbed under your track. But What do you use for scenery ground? What I mean is this: do you glue the scenery to the plywood base, or do you use a styrofoam, or that putty compound?
If you use sytrofoam or something else, does it completely cover the plywood base, or do you use it only to attach certain scenery like a peg board?
Do these make sense? Please help…any helpful hints would be great!!!
I know there are much more complex ways to build layouts but bare plywood is a worthy start and I think it is super important to be able to actually achieve a certain level of “doneness” in the scant time modern life gives us and bare plywood is FAST.
I would use cork under the track. Next I would paint EVERYTHING (except the track!) with a coat of dirt colored paint.
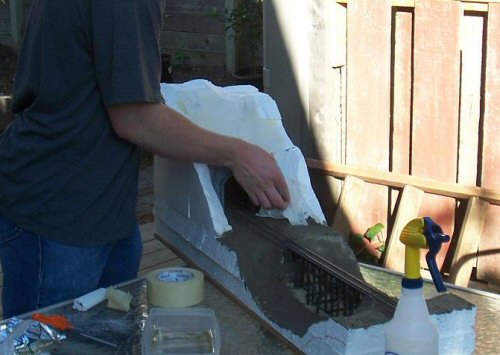
Here’s Nick doing just that with his micro layout.
You can see two peanut butter jars full of two different colors of latex house paint. I get these colors by going to my local hardware store and they invariably have a stack of “rejects” where they mixed a can of color and the customer did not like it so they had to do another. They sell these for $5.00 a gallon. I look them over for a nice dirt brown/olive. I’d still buy a can at full price if they don’t have any rejects.
Anyway — paint over the whole layout with the base color so you cannot see any bare wood anymore.
Next I use a brown dirt-colored fine paper mache product mixed with real dirt and white glue to make a “mud” and paint this everywhere too.
To make hills you can build them up out of Styrofoam (very messy) or just use wads of paper and cover them with plaster cloth like Nick is doing here.
Then paint and mud the hill. Sprinkle real dirt and then glue it down by soaking with white-glue-water mix — with a few drops of Mr. Clean to break the surface tension so it soaks in better.
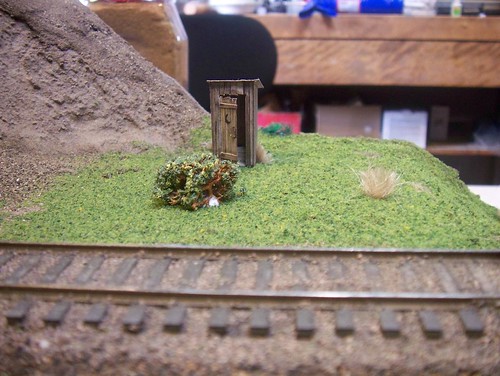
This makes a great “base” and then you can add rock castings, trees, grass, bushes as you go.
Keep an eye out for our next steps with Nick’s layout: we’re almost ready to build up the terrain.


