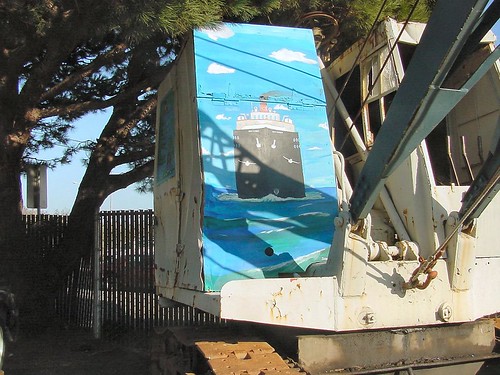
SP crane

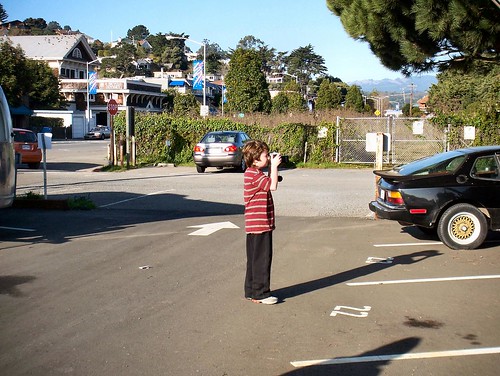
My son and I were walking around Sausalito one bright winter morning on a “photo walk.” I was teaching my son about taking pictures and turned back and saw he was taking a picture in a parking lot. “What’re you looking at?” I asked.

“A crane”

I’m wondering since my son isn’t into birds much, so I walked over and looked.

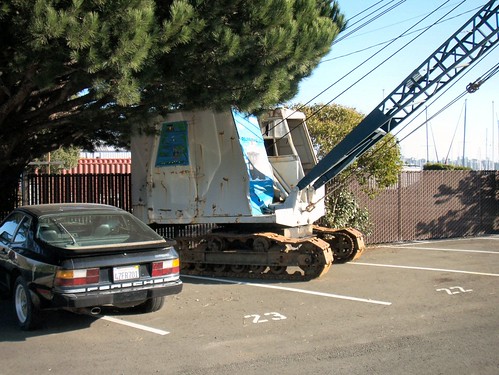
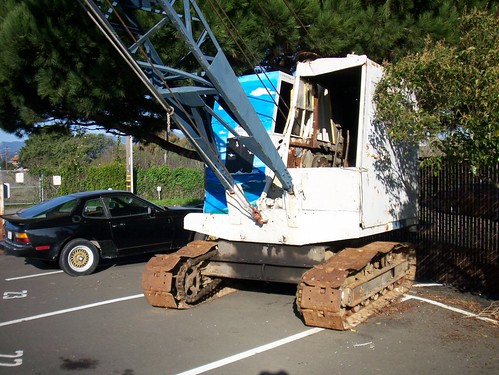
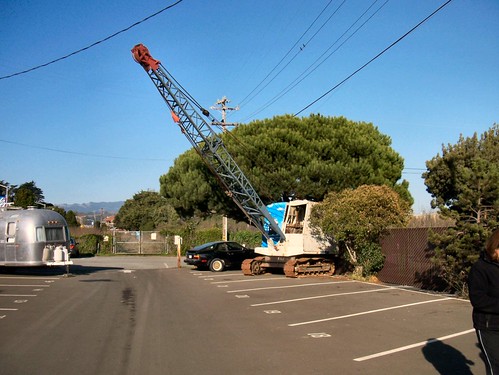
I had walked by it completely. A nice funky self propelled crane. My son was intrigued by the ship someone had painted on it.

Self propelled crane

We were walking near the old NWP mainline. The last tracks in Sausalito were pulled up in the 1970s. Today it is a mix of boating industry, expensive office space, cheap(ish) warehouse space, and funky artist spaces.

SP crane

SP crane

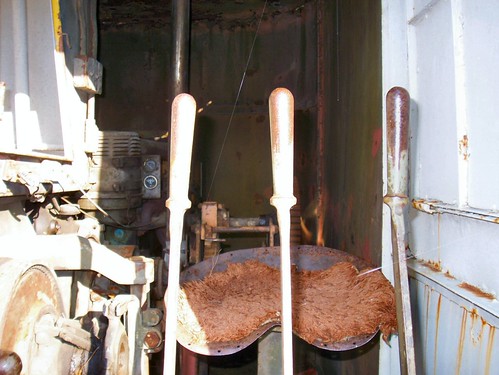
SP crane

SP crane

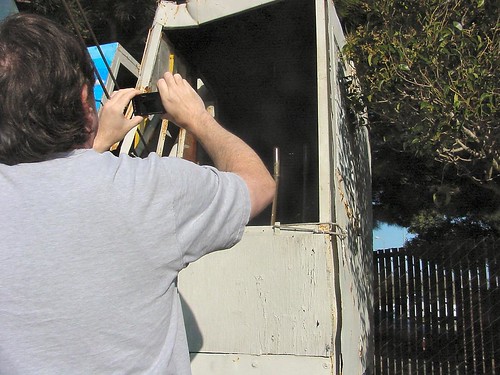
My son’s picture of me trying to photograph the cab:

Self propelled crane

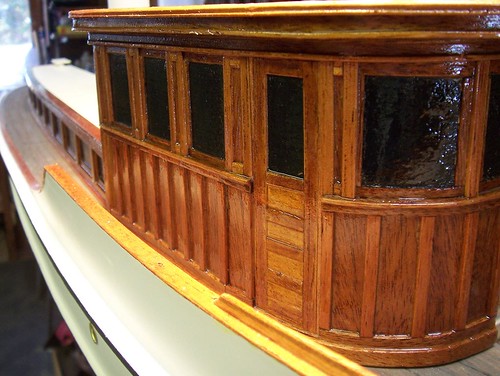
Model ship workshop

I work hard at being a member of too many model groups. Probably as a means of making sure I never get anything done. One of my favorite groups that I don’t have time for is the Hyde Street Model Shipwrights. I love models of all kinds and I’ve found that model ship clubs, on average, are easier social groups than most model train groups. That’s just been my experience, your mileage may vary.

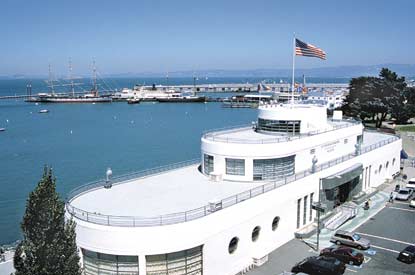
One of my favorite museums when I was growing up in San Francisco was the wonderful Art Deco SF Maritime museum near Fisherman’s Wharf, every room bursting with model ships and ship artifacts.

Museum_bldg

When I first joined the Hyde Street Model Shipwrights we met in the basement of that museum. However, for the last several years the museum building has been under renovation so we’ve set up a small shop in a cabin on the main deck of the old Northwestern Pacific ferry boat Eureka (National Park Service , Wikipedia). There are usually club members at the shop every Saturday.

What’s all this have to do with trains? Note that Eureka was owned by the railroad I model and started its life as the Ukiah, a combination passenger, wagon/automobile, and railroad car ferry. That’s no more than one degree of separation.

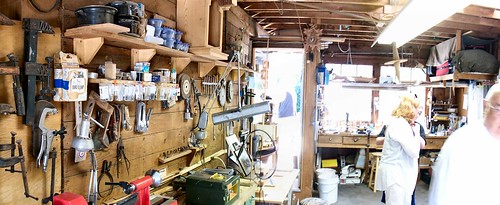
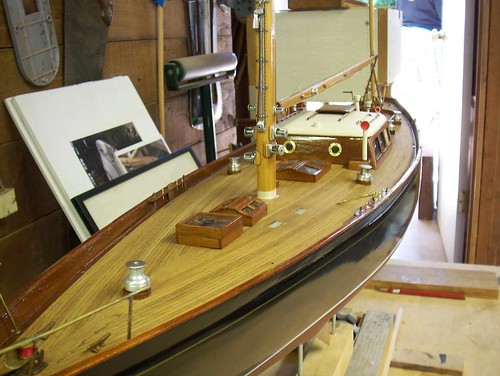
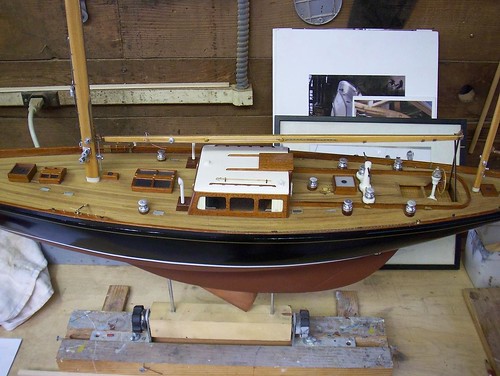
Last weekend Paul, a club member who is also a neighbor in Mill Valley, hosted the annual club picnic. Paul builds model ships on commission and has also published numerous articles on model ship building. I took the opportunity to take some pictures of Paul’s shop which he has made inside his one-car garage.

Model ship workshop

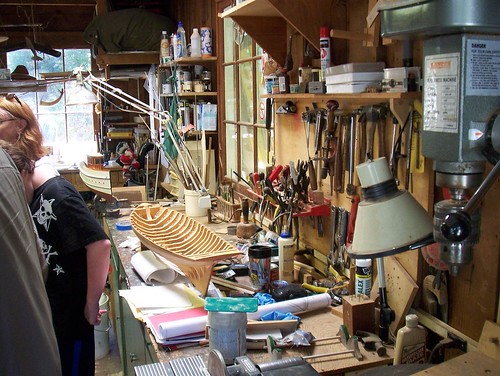
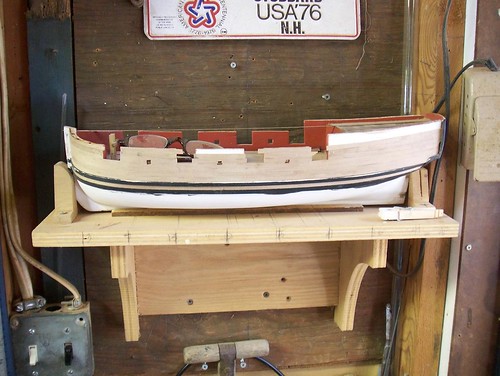
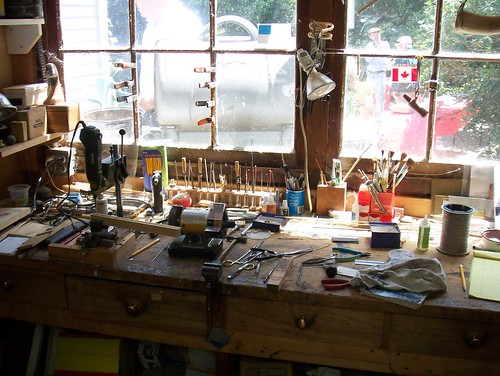
Paul divides his workspace into several tool-specific stations with several general-purpose stations where model ships take shape. In this way he keeps several projects in construction concurrently.

Model ship workshop

Above are two general stations, each with a ship model underway.

Model ship workshop

A 1:24 scale model nearing completion. This was almost four feet long overall.

Model ship workshop

Model ship workshop

A small 1:64 scale model that’s been a personal project of Paul’s for some time.

Model ship workshop

At this bench Paul makes all the little fittings for his model ships.

Model ship workshop

A half-model Paul is building on commission. This will be mounted on a wall in the owner’s home.

Interacting with Miniature Railroading posted a link to this great one-hour long video of a railroad in Eritrea.

Eritrea: Rebirth of a Railway and Steam Trains

Play full size in new browser window

Volume 2

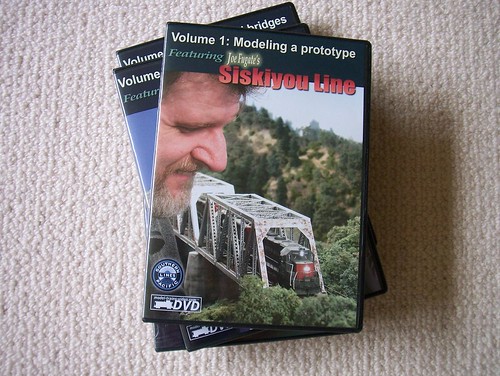
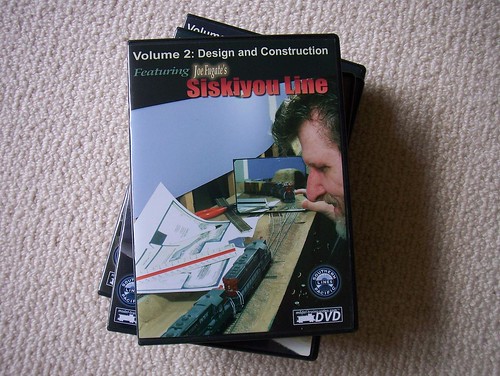
Joe Fugate was kind enough to send me a review set of his Siskiyou Line videos. The five volume set covers almost all aspects of the design, construction, and operation of his HO scale Siskiyou Line layout based on the Southern Pacific’s Siskiyou Line in the 1980’s.

Please see my comments on Volume 1 here.

Volume 2: Design and Construction is mainly a case study of how Joe’s layout design evolved and an outlune of construction techniques used. 

Starting with design and concept Joes walks us through each stage of the process beginning with the importance of finding a layout concept that really excites you. That excitement and engagement is really important since it is what will carry you through the work it takes to stick with the project.
Scenery

Joe goes through the role of a CAD system in designing a layout but his emphasis is on the design process, not on the mechanics of running a CAD program. I think this is a good point. WHAT you are drawing is much more important than how you go about making the lines on the paper.

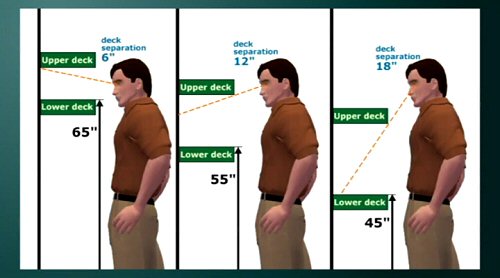
Early in determining how he was going to use his available space Joe decided that some form of multi deck style layout was what he wanted since it would significantly increase the possible length of the mainline. Joe goes into excellent detail showing how a mushroom style multi deck configuration works and his approach to construction. I think this will be really helpful to people curious about whether this is an approach they want to tackle themselves.
Multi deck design

Joe demonstrates the process of creating a list of “Givens and Druthers” (In software projects I call these “Musts” and “Wants”) to help prioritize Layout Design Elements (explained below) that are contemplated for the layout. Additionally Joe shows how requirements for adequate aisle room, minimum curve radius, and room size and shape all interact in shaping the plan.

A Layout Design Element is a scene or other aspect that you really want reflected in your layout design. For example, Joe showed that one layout design element he wanted was the Roseburg yard; another was the bridge crossing the North Umpqua River. Looked at this way, track planning really becomes arranging desired layout design elements, adjusting their size and shape to fit the available space, and connecting with tracks.

This demonstrates for the viewer a very approachable technique to designing their own layout.

As Joe finishes his design discussion he emphasizes that a plan is only that. During construction, plans can change.

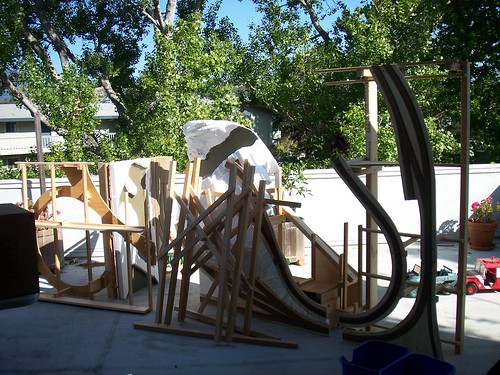
Joe’s discussion of benchwork construction very reasonably focuses only on those aspects that are unique because they are a direct result of his particular planning decisions. These particularly include details of how the mushroom aspects of the benchwork were constructed.

Joe gives a really interesting story about the trials-and-errors encountered in the design and implementation of the helix required to move trains between his lower and upper levels. This was really helpful to me in particular since it explains the trouble I’m having with my darn hill : From Joe’s disussion I see how I neglected to appreciate the required grade compensation caused by my tight 18” radius mainline curves adding effective grade to an already steep 4%+ grade. Argh for me – but also Ah ha! Now I have a better handle on how to fix the issue.

Joe details the very straightforward lighting system he uses on the layout and then moves into some straight How-To sections showing how he builds Masonite spline roadbed. Another how-to is on flextrack laying techniques.

Finally, included on the disk as Special Features are quick notes on how to add power routing and handling complex installation with his Easy Throw switch controls as well as a Power Point style presentation of metrics you can use to numerically measure and compare different tack plans.

Overall, I think the most interesting and useful thing found in this video is the problem solving process Joe demonstrates since this is where I really felt I was learning and gaining experiences that would help improve my own design and construction work. Although Joe flags this video as Intermediate/Advanced I think beginners will see how to avoid common mistakes and also learn from Joe’s experiences that mistakes can and will be encountered but can also be overcome.

I think viewers will get the most value from this video if they have seen Volume 1 first.

Joe’s DVDs may be purchased at model-trains-video  and retail for $24.95 each.
barn full of boxes

Last time I was Packing. Now we’re unpacking.

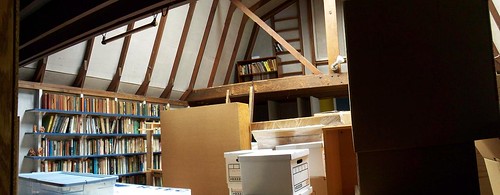
This long July 4th weekend has been mainly devoted to getting the whole dang house out of boxes. Fortunately we’re moving from a 1300 square foot condo apartment into a significantly larger house with a workshop/studio outbuilding in the back. Moving from smaller to bigger is almost always the happier direction.

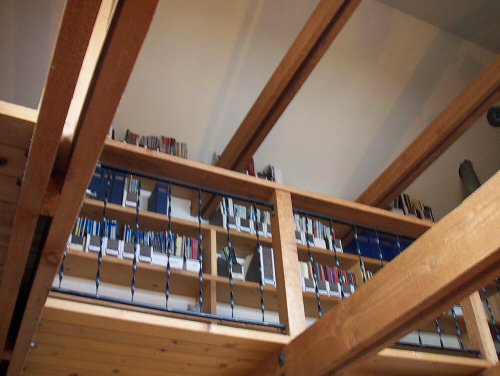
My wife and I have a lot of books and I have my over 40 years of Model Railroader back issues (and all the Narrow Gauge & Shortline Gazettes, and a bunch of other modeling magazines…). Incredibly the previous owner had the garage turned into an office/library with a loft full of bookcases.

upper deck of library

If the place had a 2000 sq. foot full basement with no obstructions it might be more perfect but this is northern California and full basements are not typically found until you go several states over.

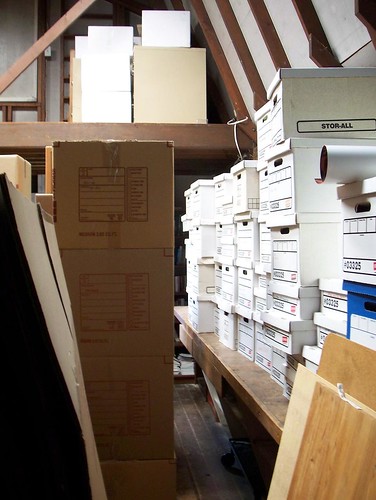
In the mean time, I must get these boxes unpacked so I can use that studio!

barn full of boxes

Wish me luck! My son got lost somewhere back there this morning.

barn full of boxes

Volume 1

Joe Fugate was kind enough to send me a review set of his Siskiyou Line videos. The five volume set covers almost all aspects of the design, construction, and operation of his HO scale Siskiyou Line layout based on the Southern Pacific’s Siskiyou Line in the 1980’s. I tripped across Joe’s website several years ago and was struck by the excellent scenery (especially the trees and ground cover) so I was really pleased to have a chance to see the videos he has made.

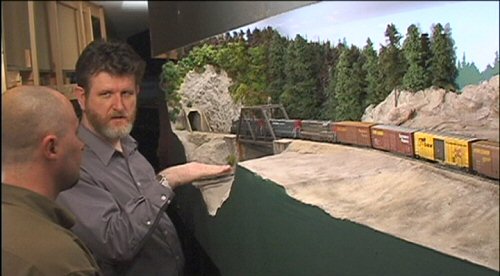
Volume 1: Modeling a prototype is a really nice overview and I found it reminded me favorably of Allen Keller’s Great Model Railroads series in overall format. The DVD starts with a rail-fan style trip following trains around the 800 square foot layout. We then meet Joe as he describes the creative process he followed to end up with his layout’s concept. One twist is that he maintains a strict 20 year date offset so if it’s July 4, 2008, then it is July 4, 1988 on his layout. Next we see how the layout’s mushroom configuration and clever construction plan allows a functionally 1200 square foot layout to fit into his 800 sq. foot space.

Vol1 still 1

After that Joe takes us section by section through the layout describing how each relates to the prototype and features of operational interest he’s implemented. Next we follow the Coos Bay Hauler along its route as Joe demonstrates the dispatching and schedule system he uses. I’m a small line steam guy and plan on strenuously avoiding most operational paperwork but Joe shows that attention to this detail can help you feel immersed in running the train over the branch.

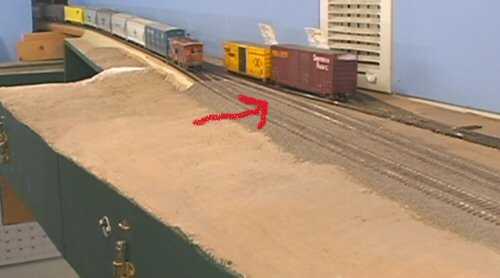
I have say it: I found a continuity error. Joe carefully demonstrates how he realistically includes adding and dropping water cars (cars which drop water to help prevent fires) from the train but immediately after dropping the two black water tank cars the train pulls out and the siding where the tank cars were spotted (indicated by the red arrow below) – is mysteriously empty.

Vol1 still 2

The video closes with a straight how-to showing how Joe uses ordinary brass door bolts to manually actuate his turnouts.

Production quality is good. I viewed this video on a 46″ HD TV and it looked good and sounded great.  Joe is an excellent narrator and my son and I both really enjoyed watching the video. Joe did an excellent job introducing and orienting us to the layout and I’m looking forward to seeing how he builds his excellent scenery and track work.

Minor nit picks: Joe’s lighting is a bit too shadow-free and could have used key lighting. Admittedly, this is tough to do on many layouts. The editing pace is a tad slow.

I think Volume 1 is free-standing in the sense that it is a good value all by itself without the rest of the series. However, I’ve already gone on to Volume 2 (full review later) and can report it presents a wealth of new material and is a great follow-on to Volume 1.

Joe’s DVDs may be purchased at model-trains-video and retail for $24.95 each.
Phew. Moving our thousands of books is a real workout. We’re “only” moving about one mile away (four road miles) so I got it into my pea brain that we should do most of the moving ourselves. Yeah. Yeah. Yeah. I hear you. Next time I’ll pay someone else to do it.

I am actually enjoying going through all my modeling material I’ve been squirreling away for “some day” and I’m really feeling like some day is becoming Today. I have over 300 un-built model kits. Gulp. Time to get cracking.

Picture 001

The good news: My San Juan Central (aka Northwestern Pacific) was indeed portable!

The good news is that my big project at work – DARPA RealWorld successfully hit its two-year midpoint milestone. RealWorld is a $40 million, 4-year project to build a framework to allow war fighters the capability to rapidly create mission rehearsal “games” leveraging commercial computer game technology. My company, Total Immersion, is under contract to DARPA to build RealWorld. The bad news has been that I’ve been so slammed working on it that all modeling work ground to a halt.

More bad news is that I’m moving next month which pushes out resuming model work a bit more.

The good news is that I’m moving to a bigger place with a large external building I can use for a shop/modeling studio! I’m really excited about it.

Now I get to see how “portable” my San Juan Central really is.

« Previous PageNext Page »