Picture 017

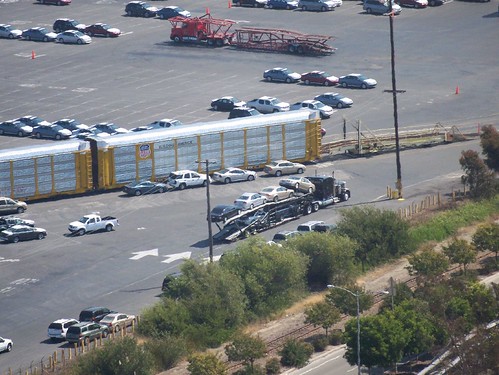
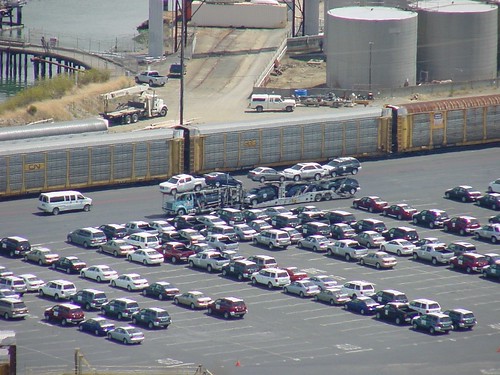
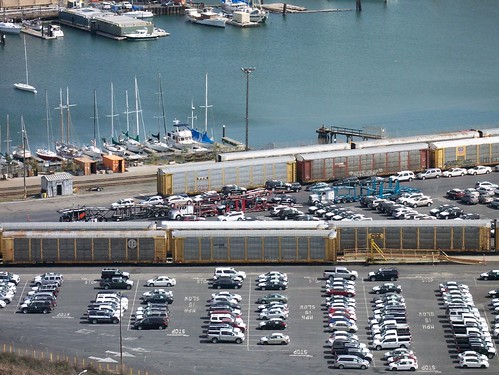
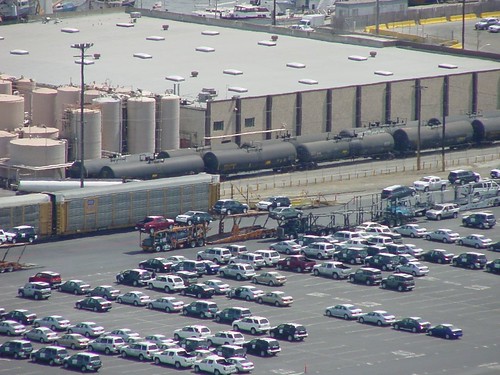
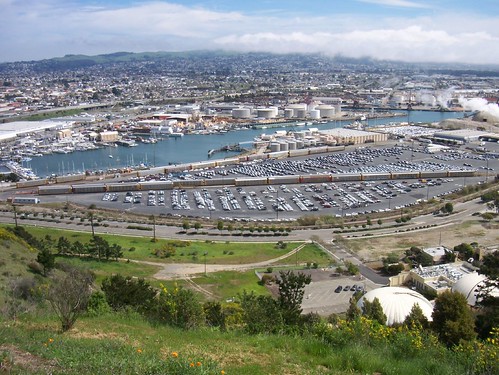
I try to go for a walk every day at lunch and I usually climb this big hill behind the office where I work. From the top of this hill I can look down on a mini-yard which is dedicated to loading and unloading auto racks with automobiles imported from Asia and other parts of the US.

This whole area of Point Richmond used to be Sante Fe trackage. BNSF now handles the moves in and out of this yard. I’m not sure if BNSF owns the yard or if it is owned by an import agency of some kind. However, the office buildings seem to have BNSF logos so this all may be owned by the railroad.

Picture 013

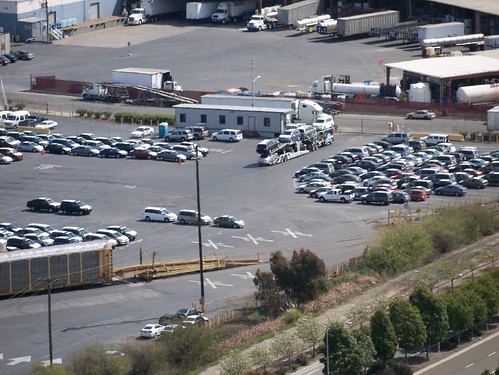
As I can see it, cars are unloaded from ships docked at piers about a half mile south of this yard (out of sight to the right in the photos) and held for a short time in a large secure parking lot. They are then driven to this yard and either loaded onto auto carrier cars or onto trucks.

In addition, some cars arrive by rail from other parts of the US to this yard and are unloaded and then loaded onto trucks for more local delivery. Lots of traffic in and out. The cars move by being driven on their own wheels on/off ships, on/off the rail cars, and on/off trucks. There is an office where the teams of drivers work from and a bunch of vans to return drivers from their short trips between the various areas of the yard.

Here’s a Google Earth satellite shot of the yard.

Auto Loading Yard

Link to a Google Earth KMZ file to this location

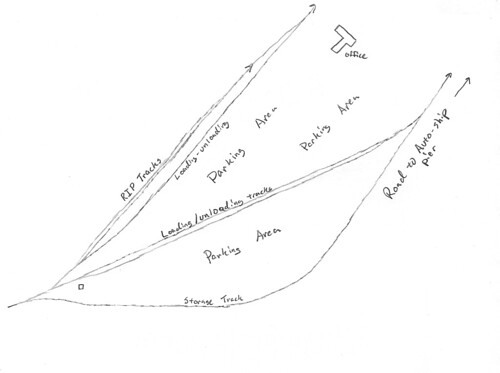
I made this sketch to show schematically how the yard is laid out.

Auto Loading Yard Layout

Main rail entry is gauarded by a hefty bar gate, cyclone fence gate and a small watchtower. A yard full of new cars is pretty valuable!

Picture 009c

There’s a RIP track (Repair In Place) along the east side of the yard (the far side in these photos) where you can often find auto carriers jacked up getting minor repairs. There are several small tool sheds and a rack of welding gas and supplies nearby to support this. There are also lots of spare wheelsets of various diameters nearby.

Picture 008a

Note that these photos were all taken from over 2000 feet away so there are heat ripple distortions in all the close-ups taken with extreme telephoto.

Picture 012

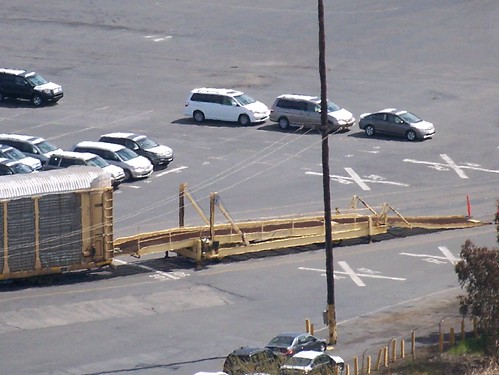
Mobile ramps are used to load/unload the cars from the auto carriers.

Picture 005

Picture 003

100_0090

Lots of trucks coming and going.

100_0091

DSC00003

Picture 006a

DSC00004

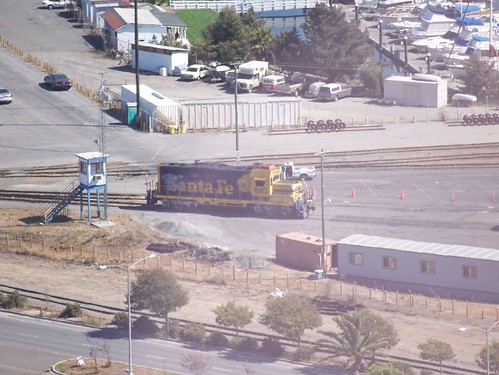
Switchers — usually this single beat-up GP35 (I’m wrong — I’m not a diesel guy and I learned that this is a GP9) still wearing Santa Fe colors comes in and shifts cars daily. There are some REALLY sharp curves in and out of this yard, something like 300 foot radius which is sharp for these huge cars. Anyway, there have been several occasions where this single switcher is not enough to pull out a long loaded string and the crew has had to either split the string and double the move or go borrow another unit to yank it out.

These moves foul all the streets nearby so I need to plan my exit from work or you can easily be stuck 20 minutes waiting for the switcher to finish its work.

Picture 006

Picture 007

Note all the little work trucks.

Picture 009

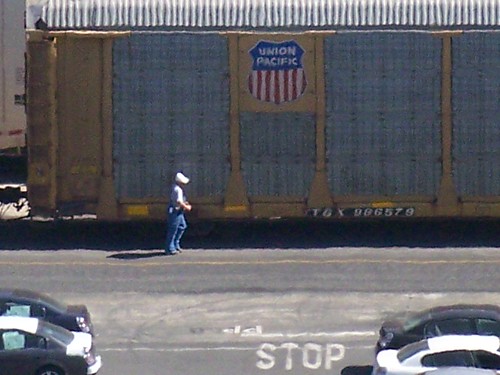
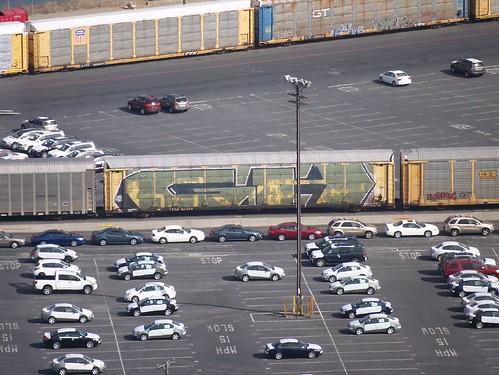
The graffiti work on the cars can get pretty intense.

Picture 045

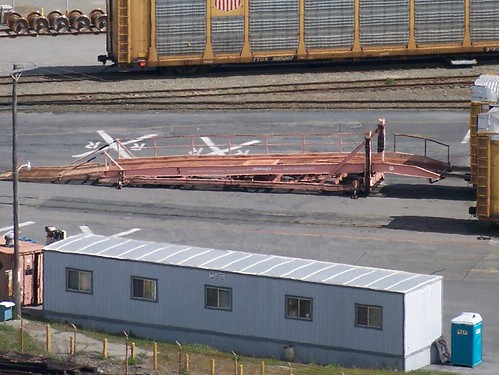
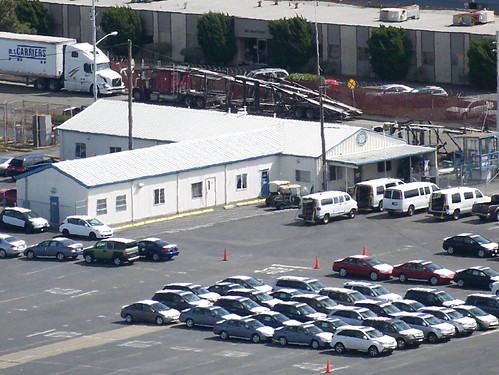
Various office structures around the edge of the yard. I think this one is the main driver’s office with vans to carry workers to and from their driving assignments. Note the BNSF logo on the office.

Picture 012a

Picture 007a

Picture 004

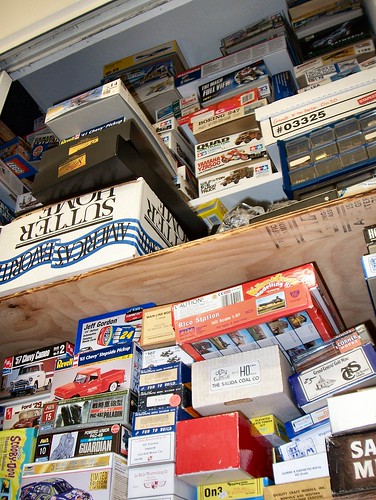
I’ve been diverted from making headway on the train layout for a couple months by work and other responsibilities. One recent rainy day I was looking at my model building backlog – a.k.a. my closet full of un-built kits:

Picture 014

I thought it would be good for my morale to just crank something out as long as it was something I could complete within a weekend plus a week of evenings (about 8-10 hours total build time).

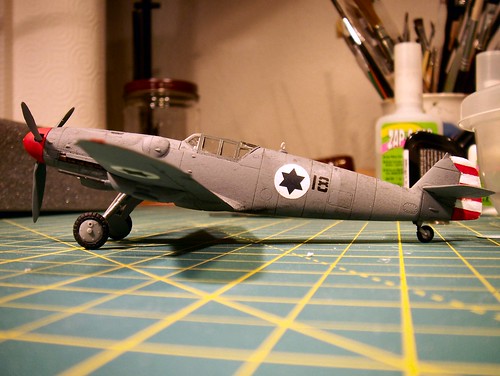
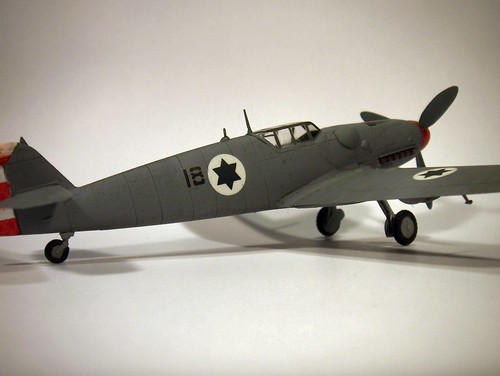
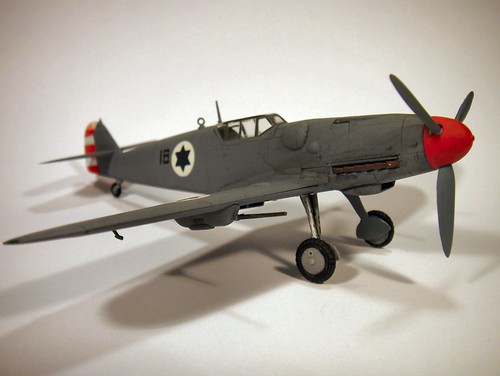
I chose a 1/72 scale Hasegawa kit of a Messerschmitt Bf109G-6 that I’ve had for years. I find myself incapable of building a kit straight from the box. I remember reading that the early Israeli Air Force flew ME-109s alongside Spitfires and Mustangs – often against Egyptian Spitfires. I had some Israeli A-4 Skyhawk decals I could use so I was all set.

If you’re a train modeler you may be asking “why is this a useful exercise?” I think the answer is that all model building projects contain common elements: research, construction, finishing, photography, self-critique. There are skills common to all successful miniature projects.

I was also trying to overcome a crisis in inertia and modeling motivation…

Research

A bit of digging showed that the plane the Israelis flew was not an ME-109 but an Avia S-199. These were produced after WWII by Czech builder Avia mating available ME-109 airframes with available Junkers Jumo-211 engines. The result was an inexpensive but unforgiving airplane that the Israelis used but retired as soon as they could.

References:

Wikipedia – Avia S-199

101 Squadron, Israel’s first fighter squadron

Rudy Augarten – avenging the Holocaust.

Construction

It was clear my model was going to be incorrect in numerous details but I was set on completing the model anyway. It had been so long since I’ve done an airplane model I had to look up the recommended construction sequence. The main trick is building enough to be ready to paint and decal the body without having too many small detail parts in your way. Fit was generally excellent for this model and I did only a minimum of seam filling and sanding work.

Finishing

I avoided using my airbrush since I do not currently have all the infrastructure in place to use it. I used a glossy gray spray paint and matching acrylic (Tamyia) paint to do the main finishing. I added decals to the glossy finish and sealed them with clear acrylic paint. The entire model was covered with a couple coats of matte finish and weathered with black acrylic paint diluted to a thin wash. This wash pooled into the panel lines and highlighted them nicely.

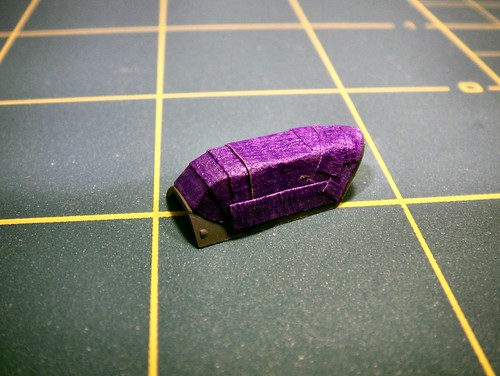
I installed the canopy fairly early but kept it covered with masking tape.

Picture 043

Photos

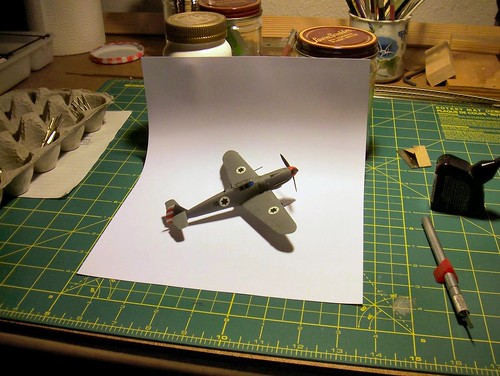
1/72 is a small scale in which to build a relatively small plane. The finished plane is only 5 inches long. For a model built for fun the main reason to take photographs (besides being able to share my work with the Internet) is to look for things I did right or wrong. Photos are harsh critics and see teeny details far better than my increasingly aging eyes!

Picture 015

Picture 014

Picture 013

Self-critique

Detail errors I don’t really care about: I want to get my list of errors in before I get flamed by the aerial equivalent of the rivet-counters.

The air scoop is on the wrong side of the plane for the Jumo engine. The shape of the nose near the prop is also wrong for the Jumo. The canopy on my model is the old “Galland” birdcage canopy whereas the Avias had a later model canopy with far fewer frame bars. The main wheel hubs are wrong and the markings are a fantasy I made up. I like what I built so this is really my list of “known issues that I’m not super worried about”

What do I wish I had done better?

The black wash worked great but the panel lines on the wing do not show as well as those on the fuselage.

The rudder stripes look like they were painted with a broom. I made the mistake of installing the horizontal stabilizers onto the tail before painting the stripes.

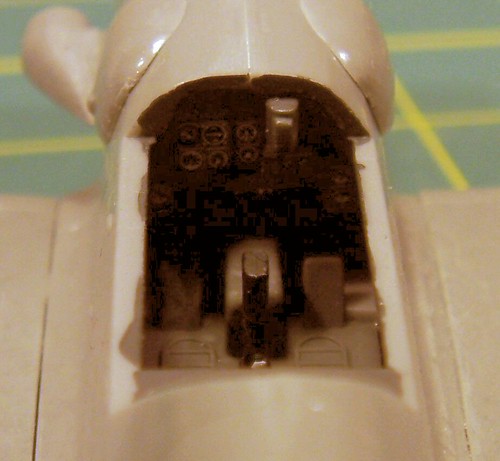
The cockpit is so dark inside it is impossible to see any details through the canopy.
Picture 046-detail

With contrast enhancement:

picture46-detail

The decal “18” on the left side shows air bubble “silvering”
Picture 006

The landing gear are not aligned right and this is after resetting them straighter three times!

Planning how you’re going to build and clean those far corners is a challenge that I think you will always have with a diorama-style layout. The payback is deep immersive scenes that photograph well. I seriously considered fitting a shelf style layout into this space (see The Shelf layout plan – not for me) but decided it was not the kind of model building I was interested in.

John Applegate asks “how do you reach the corners?” in a comment on my post
Roughing up the town of Tiburbon

I was wondering if you have any “reach” issues with this layout. Are the right-hand & left-hand corners within 36″ reach limit? I noticed you placed the layout against the two walls thus disabling you ability to reach from behind. Any access hatches needed?

Reason I ask is that I am planning to do the SJC in Sn3. And in Sn3 I will have reach issues.

-John

Since my Northwestern Pacific layout is a walk-in style layout and not a shelf layout it is really hard to avoid having places that you can’t reach. 

The quick answer is that from above, both corners are out of reach but I’m making them accessible from below or beside the layout.

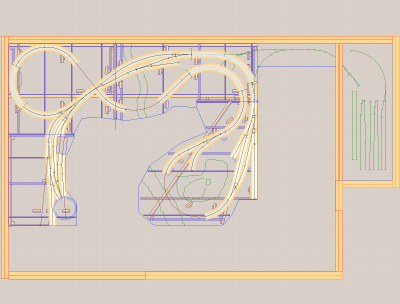
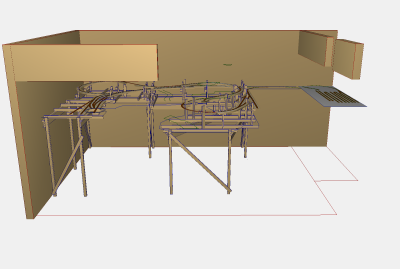
Here’s my track plan and room arrangement (from My Track Plan):

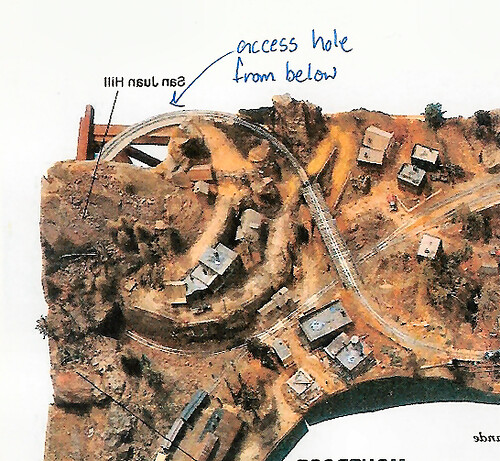
For the “left” corner I’m following Malcolm’s lead and leaving the back of the hillside open. From below I can almost stand up under the hill and service the loop of track in the back corner.

leftcorner

Note that the illustration above was made by mirror flipping and marking up a photo of the original San Juan Central layout so it matches the orientation of my layout.

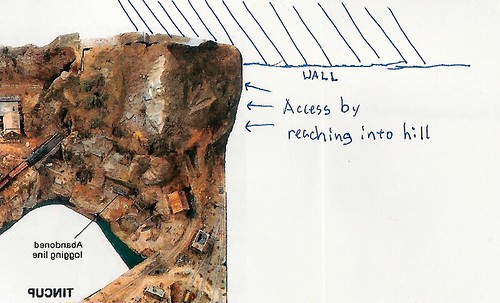
For the right side I’m going to leave the side open (or have a removable fascia board) so I can reach in.

rightcorner

Note again that the illustration above was made by mirror flipping and marking up a photo of the original San Juan Central layout so it matches the orientation of my layout.

On a larger version like the Sn3 layout John is thinking of (or On30, On3, etc.) it would probably be a good idea to allow some access from beneath this area as well.

I’m very pleased with the new version of 3rd PlanIt. I’ve been a happy user of 3PI for many years. I have been hesitant to recommend the product to others because I was a bit worried about the many years since the last product update. However, version 8 is here and works great.

Highly recommended.

Dave Nelson made a good comment on Part 1 of this series:

he wrote

Three observations

  1. When comparing page counts how do you factor in Great Model Railroads, Model Railroad Planning, and other “special” issues that didn’t exist at one time? Arguably MR is now a 14 or is it 15 issue a year magazine now.

  2. I would also point out that using the August issue as comparison is a bit odd — I bet that has the lowest news stand sale of any issue (since I suspect less model railroading is done that month) and thus they probably tend not to put their best articles in that issue.

  3. Third observation is that had I ranked issues years ago, before beginning my layout, I would have placed far less value on articles about benchwork, tracklaying, wiring, yard design etc than I would now. Soon I will be deeply involved in structures and I imagine my ranking of articles will change once again. Just a point
    Dave Nelson

These are good points and bear expanding on:

Page counts and special issues: No, I did not include the new special issues in the page/cost comparisons but these special issues are not part of the 12-issue annual subscription. Even subscribers must pay extra for them. I might feel better about my subscription dollars if MR spread the content in these issue into the 12 issues through the year. No doubt Kalmbach would need to charge more but at the same time the quality of the magazine would be improved.

Why look at only August? I agree it is probably the low mark of the year. People tend to be on vacation in July and August. However, this should be true over all 40 years I looked at. If I compared December issues to August issues that would obviously be a problem. Despite all that, there were some really good August issues! Really it was random timing that led me to choose August — I had just recieved my August 2006 issue when I started the series.

Why look at only one month of the year? This review ended up being a LOT of work just looking at 40 issues. There’s no way I could have done a resonable job including more months and I was interested in including as many years as possible.

Dave’s last point: that what constitutes a “good” article is changable and prejudiced by what you are interested in TODAY. I absolutely agree. That’s why I gave up on ever reducing my MR collection to a file collection of “just articles I like.” I tried that once and almost immediately regretted it and had to spend a lot of time and $$ on eBay getting the whole issues back. As far as affecting how I reviewed the issues? Obviously the reviews of the issues are my personal opinions.

I have been feeling for many years that the quality of the magazine has declined. I was interested in whether I would find that old issues were bad too, in which case MY standards had changed, or whether I really liked those issues better. For my part, I found a real trend downward in quality in MR.

However, one thing that Dave wrote REALLY got me thinking:  those “special” issues. I have bought several of them over the years and they have good material. If MR included all that great content — and yes, charged more – I would very likely feel better about the magazine.

40 Years of August in Model Railroader – Part 1

40 Years of August in Model Railroader – Part 2

40 Years of August in Model Railroader – Part 3

40 Years of August in Model Railroader – Part 4

40 Years of August in Model Railroader – Part 5

40 Years of August in Model Railroader – Part 5½

40 Years of August in Model Railroader – Part 6

40 Years of August in Model Railroader – Part 7

40 Years of August in Model Railroader – Part 8

40 Years of August in Model Railroader – Part 9


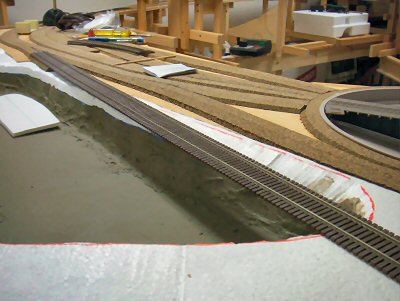
This is taking longer than I would like. I’ll talk about this more later but I’m now seeing that building up a layout out of foam may be a good technique but quite time consuming. 

I’m staring to think that building up out of foam has its place but not as the way to build your entire layout.

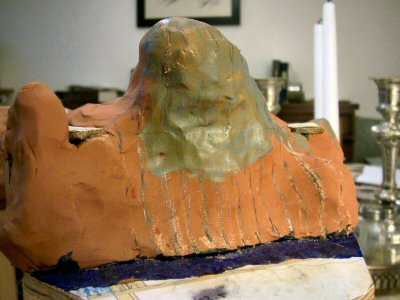
One area it makes sense is around Crazy Horse Canyon since I have a pretty detailed idea how the terrain will be contoured and it will be nearly all rock castings.

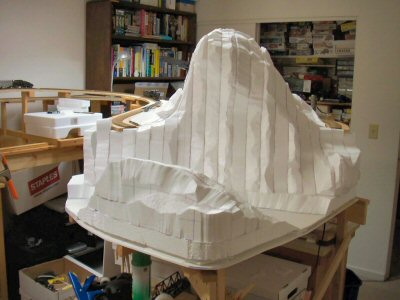
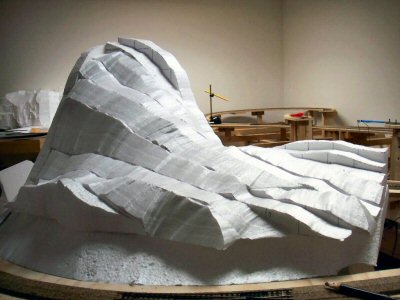
First, I really don’t think building up layer cake style works as well as making vertical slices. I see in the December 2006 Model Railroader that Pelle Søeborg also builds this way.

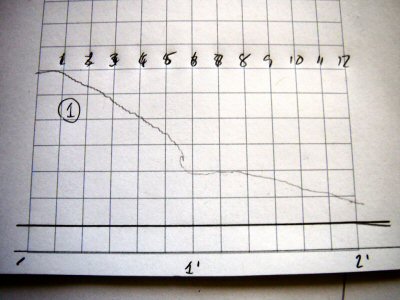
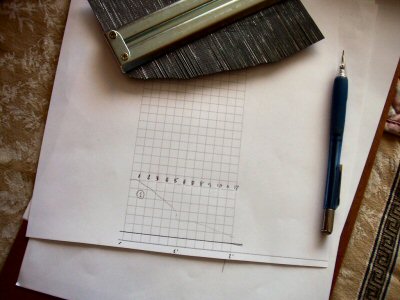
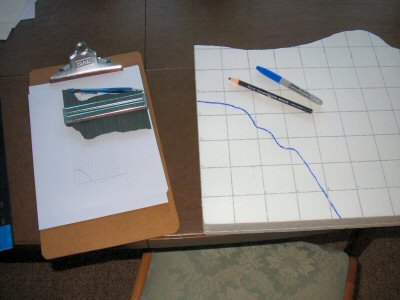
I started by drawing pencil lines on my planning model that I would turn into profile cut pieces of Styrofoam. Next I used a profile gauge to transfer the profile onto a scaled piece of graph paper that matches a 2” square grid.

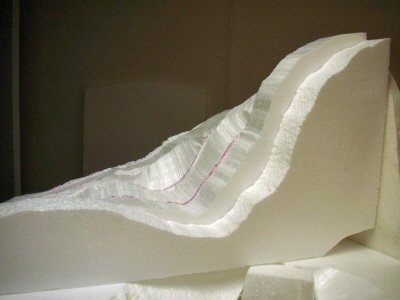
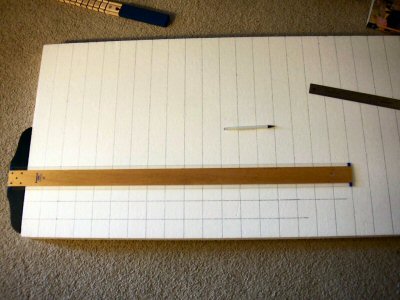
Then I marked my 2” thick 2 ‘ x 4’ pieces of Styrofoam with a 2” grid.

Transfer the contour to the big board.

Cut with either a hot-wire cutter or my hot knife. If I can reach far enough I use the wire cutter since it does finer work but if not I use my hot knife which can reach anywhere. Then I place the piece in place.

The “back” side of the hill behind the canyon I measured by pressing the contour gauge straight down.

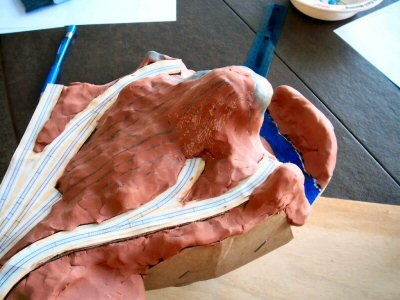
The “front” side of the canyon is mostly vertical and even has an overhang

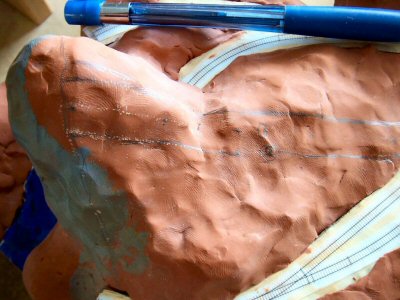
so I pulled off the bit of modeling clay opposite the cliff and measured it by pressing the contour gauge straight into the cliff face.

As I add the pieces I place them unglued in position and then go back with a hot wire cutter and trim each piece to more nearly fair into its neighboring slice.
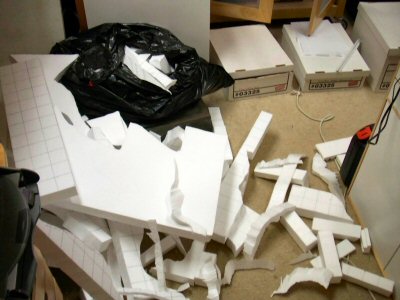
This makes a big mess even when you use hot cutting (although nothing like the mess you make sawing bead-board):

I figure nearly half of the styrofoam you buy ends up as unusable small scraps you have to throw away.

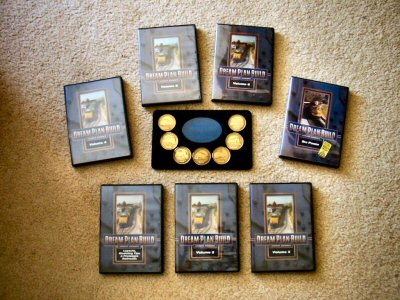
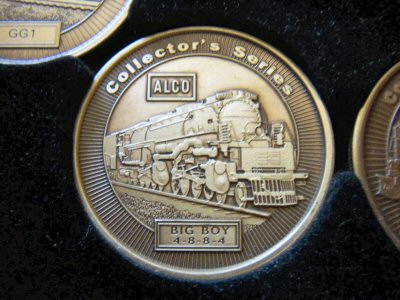
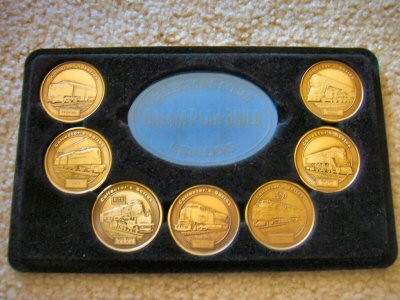
Okay, I admit it; I paid in when Model Railroader sent me an unsolicited copy of the first issue of their “Dream Plan Build” video series. Hey they included “collectible” coins too!

I saw this series as Model Railroader (MR) working really hard to remain relevant in a web age and changing modeler demographics that they do not seem to have a clue how to handle. I liked the first one enough to cough up the $24.90 and see how they go.
What I liked:

There is a fair amount of content on each disk, something like an hour and a half to an hour and forty-five minutes each sectioned into 12-16 articles.

I liked the modeling clinics. However, like the magazine, the emphasis remains on the beginner.

I liked the layout tours. I always like to see what other people have built. As long as it’s scale.

What I did not like:

Uck. The modeling clinics where the work ended up looking bad. Come on guys, do it over until it looks good! Video is really kind to most model work so it has to be really shoddy to look bad on video.

Argh. The layout tours of Lionel sets with scenery. I dare you: find one where they do not say “reliving a childhood dream…”  Scale railroading is a rejection of the “let’s see how fast the train can go” world of Lionel based layouts.

Snooze. The prototype tours. I model the 1920’s. I am not really interested diesel engines trundling around.

Recycled. The production values, style, and the sections look a WHOLE LOT like the “Tracks Ahead” series seen occasionally on PBS stations. Can you say “leftovers”?

Conclusion:

I wish Model Railroader luck but after a bit over a year and seven DVDs I’m not going to buy any more.

Yes, I did wait until I filled the little coin holder before I quit.

Yes, I’m weak.

Sketching is a really important part of model building and design. Some of my best ideas come to me while killing time in meetings or classes that are not keeping or needing my attention. Sad but true.

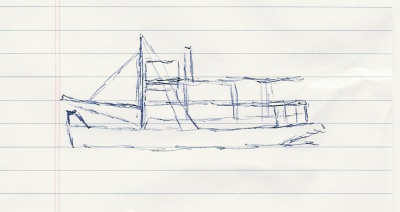
This is a boat I sketched for a modeling idea about a small river steamer. I have a 16” hull under construction and this is definitely my favorite superstructure outline yet. I’ll use 1:35 scale and take advantage of all the military miniatures details available.

This design is somewhat inspired by the MARIN.

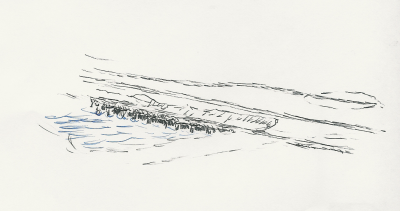
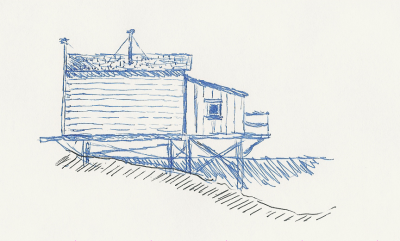
A very long seminar was a good place to do some drawings of my waterfront town of Tiburbon. Here is a rough idea about the ferryboat loading trestle.

This drawing is hard to read but if you compare to the real location on the layout:

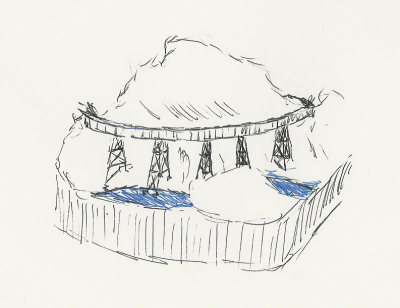
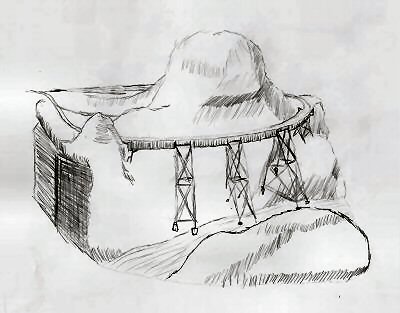
An early drawing of Crazy Horse Canyon bridge.

This bridge and canyon has been worrying me but this initial sketch let me establish how things would look. I made a more detailed drawing in this post and determined I would only need three full towers instead of the four shown above.

I changed the shape of the mountain significantly to be more like the planning model.

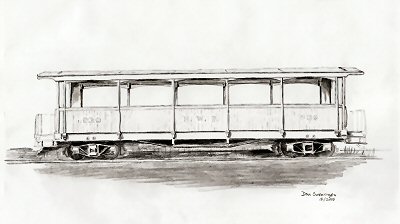
Sometimes I do a full-on high quality drawing like this one of an NWP picnic car based on a photo.

The final drawing ends up a composite of the pencil drawing and digital drawing since I continue the finer detailing on my computer using a Wacom stylus pad.

This is an idea of a typical building in Tiburbon. Since there is almost no dry land beyond the roadway the buildings will all be built over the water.

« Previous PageNext Page »